
These tips come in handy when you really only want to carry your camera instead of a huge camera bag filled with clever accessories.
When you are using slow shutter speeds you need to make sure you’re holding your camera as steady as possible, to prevent that unwanted motion blur. You’re going to want to find ways to become the tripod yourself, to get those sharp images with shutter speeds as low as 1/20. My advice is you should use the 2 second timer with the following tips, because simply pressing the shutter button can cause enough movement to blur the photo.
Lean into it
See that big tree over there? It’s lovely, take a picture of it. Now walk over to it and use it as a leaning post. Sometimes simply leaning on something that is big and solid is enough to give you that extra advantage, allowing you to drop your shutter speed a little without creating visible camera shake. You can use anything that won’t shift or move when you lean into it, a wall, for example, a post, a boulder or whatever. Be creative and opportunistic.
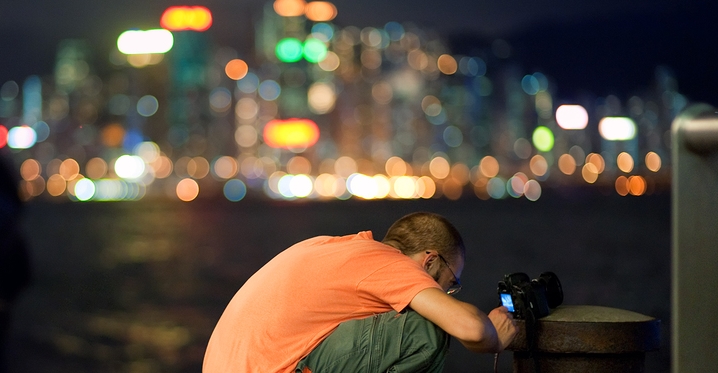
Crouch, sit or lay down
Some subjects are better from a lower perspective, so take advantage of this and shoot from a crouching or sitting position. You can brace your elbows on your legs from these positions, which can be a great help in keeping your camera steady. You can also try lying down on your belly, and propping your elbows on the ground. You can get pretty good stability this way, with the added benefit of allowing you to capture some unique shots from an unusual perspective.
Try making a string monopod
These devices are cheap and easy to make, and even more portable than the Gorilla Pod. A string monopod is just that, a piece of string or cord that is attached to your camera that hangs down to the ground. You secure it by stepping on it with your foot. The tension between the ground and the camera helps keep the camera steady.
Making one of these devices is simple, go to your local hardware store and purchase a threaded eyelet with a blunt end, one that fits into the tripod hole in your camera (you’ll need to bring your camera along to the hardware store, of course, just to be sure). Then purchase a length of cord and tie it to the eyelet. Make sure the cord is long enough to reach the ground from the height you typically hold your camera at, with a little extra length to allow you to step on it. If you want, you can add a large washer to the bottom of the cord, which will give you something stable to step on.To get the best results from your string monopod, combine it with tip number one above, lean into a solid surface. Don’t overstep too much tension can be counter productive. Using a string monopod requires practice, and it may take you a few sessions before you figure out how much tension is ideal for this technique. Ideally, you want the monopod to produce enough tension to steady the camera without interfering with the way that you naturally hold it.
Of course, another way to keep your shutter speed fast and still capture enough light for a proper exposure is to crank up your ISO. Most cameras these days bring pretty good results even when using a higher ISO, but if your camera isn’t the Batman of the photography world, then you might get a lot of noise that makes the photo seem less sharp than it could be. There is, however, a way to minimize the noise in your photos. Check out the following video for instructions.
GO TO THE NEXT PAGE FOR THE VIDEO
Read the full article with more tips on how to hold your camera steady over at DigitalPhotoSecrets.
Source: DigitalPhotoSecrets