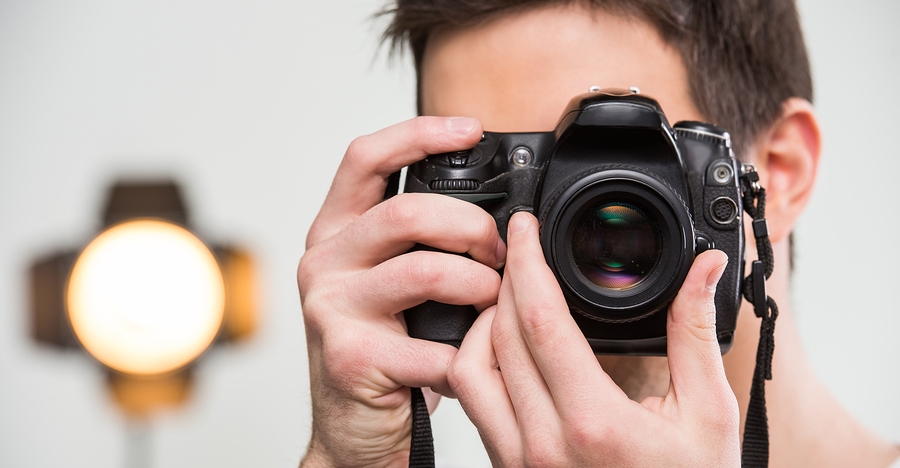
You might think it’s extremely hard to nail manual focus in rapidly changing situations, like street photography.
It’s not – if you know what you’re doing. Practice makes perfect, of course, and these tips from professional photographer Lukasz Palka will help you get it right every single time. Which one do you prefer, manual or autofocus?
Prime lenses
We first have to discuss the use of prime lenses. Without the need to select a focal length, and forcing yourself to work with one field of view (FOV), you can drastically reduce the time necessary for framing the subject.
Of course, the single focal length puts a constraint on what the photographer can do. It also forces us to use our feet.
You might think this can slow things down, and zooming would allow you to change perspective more quickly. However, by practicing with the constraint in place, proper positioning becomes second nature. As with the rest of the techniques described in this article, the goal is to make the technique automatic, and therefore, fast.
Manual focus, zone focusing, and hyper-focal distance
With practice, one can very quickly guess the approximate best focus with great speed and accuracy. Depending on the auto-focus settings the camera might not focus on the desired point in the frame. The photographer has more control over what should be in focus, and most importantly can make the decision more quickly with manual focus. There’s no need to mess around with focus select points, selecting the focus point happens instantly in your mind.
But this isn’t the real advantage of using manual focus. The real advantage comes with having the focus already set before you even know what your subject is. Then there is no need to focus at all.
To achieve this, we can use a technique known as zone focusing. We can select a ‘zone’ between various focus ranges, say between 3 meters and 5 meters. Then you position yourself in such a way as to keep the subject in that range. You can also take advantage of the large DOF at high apertures, such as f/8, and maximize it to the point that no focusing is necessary beyond a certain range.
This is how it’s done: all manual focus lenses have a gauge depicting the DOF at small apertures. It will look something like this:
On the focusing ring, the focal distance is depicted in meters (and feet), with infinity marked by ∞. It looks like this:
So together the two scales look like this:
For example, at f/8 we can set the focus such as to place 5m at the left ‘8’ mark, like this:
This gives us a focus zone between 5 meters and 3 meters. You might think it’s difficult to consistently place subjects within this range, but you’d be surprised how quickly you can learn the effective focus range of a particular favorite lens. This is also where prime lenses become a key to the techniques. It can be done with a zoom lens, but the varying POV makes it difficult to instantaneously frame the subject as desired, which mitigates the speed advantage of zone focusing.
Once you take advantage of zone focus and hyper-focal distance you can easily draw the viewfinder to your eye, compose, and release the shutter, without taking any time to focus. In addition to this, you can even shoot ‘from the hip’, that is, without looking through the viewfinder.
Read the full article with even more manual focusing tips over at PetaPixel.
Source: PetaPixel

