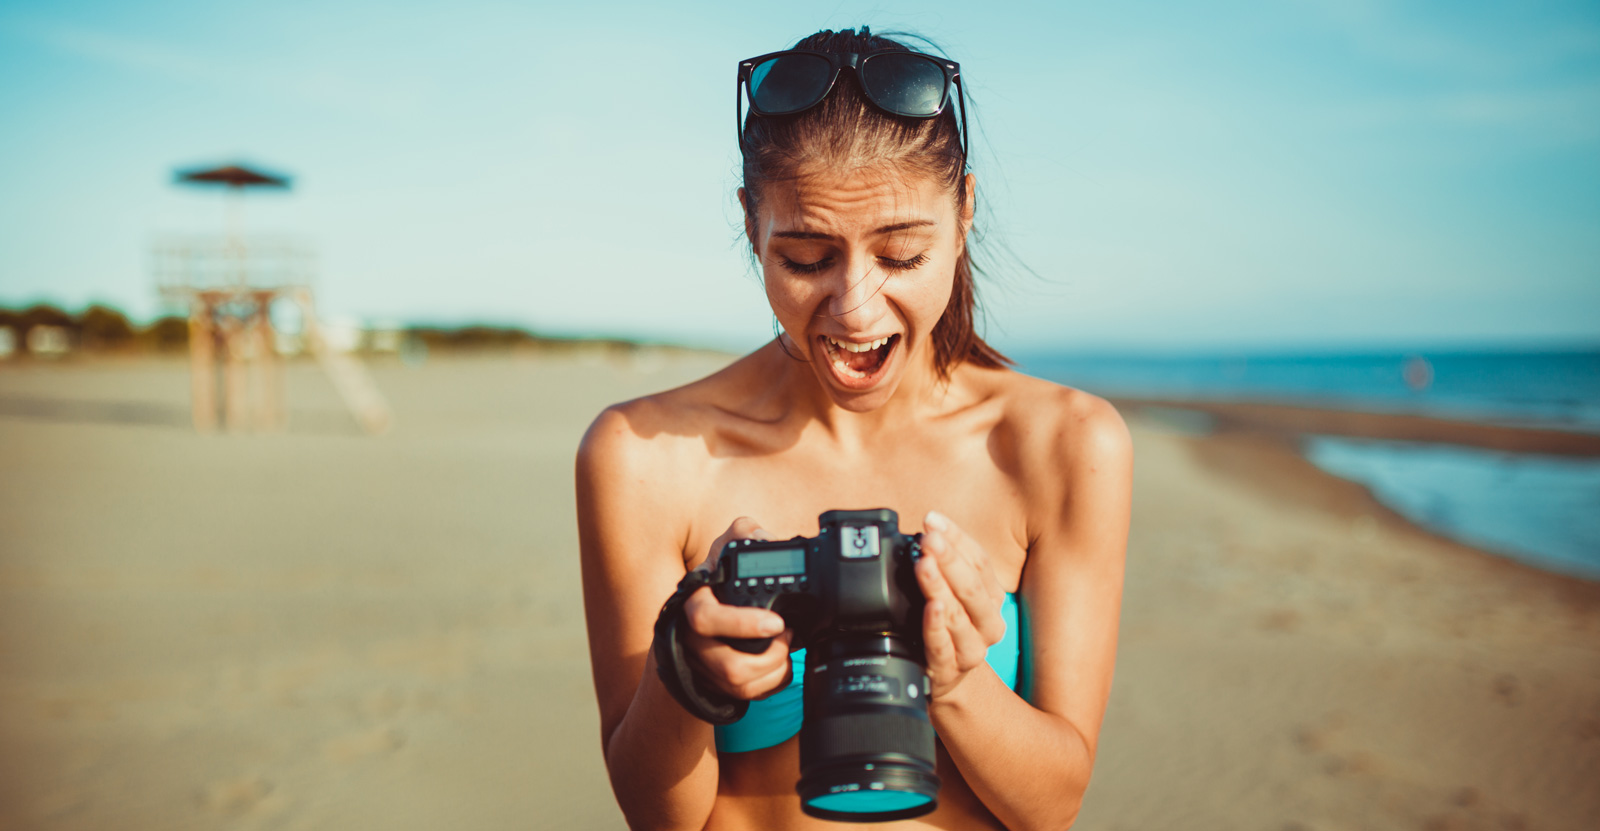
I must admit that when I first got a DSLR that all the different settings seemed overwhelming.
I wasted a lot of time fumbling around when I could have gotten much better way faster if I had focused on these settings first. This is from a great article I found over at Photography Talk.
Aperture Priority
As a refresher, the aperture is the size of the hole in the lens that allows light to enter your camera. Aperture values are measured in f-stops, with a smaller number like f/2.8 referring to a larger aperture opening. Conversely, a large number, like f/22, refers to a small opening.
Remember as well that the size of the aperture impacts the depth of field or the range of the picture that’s in sharp focus. A large aperture opening results in a shallow depth of field, like that you often see in portraits in which the background is nicely blurred. A small aperture opening offers a large depth of field, as you usually find in landscape photography.
Shutter Priority
The shutter speed is the amount of time it takes for the shutter to open and close. Most modern DSLR cameras have a wide range of shutter speeds, from those that are 30 seconds long to those that are just a fraction of a second in length. Shutter priority mode (most often denoted as T or TV) is essentially the opposite of aperture priority. Here, you set the shutter speed you want while the camera determines the appropriate aperture.
If, for example, you take an action shot and want to freeze movement, like in the image above, a fast shutter speed would be necessary. If you dial in a shutter speed of 1/250 seconds, the camera will select an aperture that’s wide enough (say, f/5.6) to allow in enough light to compensate for the short time the shutter is open, resulting in a well-exposed image.
Bulb Mode
If you want to take a really long exposure, like star trails in the night sky, you’ll need to use a special shutter setting called bulb mode.
Essentially, bulb mode allows you to go well beyond the boundaries of a camera’s typical slowest shutter speed, which is usually in the realm of 30 seconds. In bulb mode, you can extend the shutter speed for minutes – even hours – to achieve the results you want.
Manual Mode
Manual mode removes the control from the camera and places it solely in your hands. In manual mode, not only are you responsible for determining the aperture and shutter speed, but you also have to make adjustments to the ISO setting, which controls how sensitive the camera’s sensor is to light. A small ISO value, like 100, means the sensor is less sensitive to light. A large value, like ISO 1600, makes the sensor much more sensitive to light, which is ideal for low-light situations.
Being responsible for all of these settings can be a bit daunting, but it’s important to learn how to shoot in manual so you can get a better feel for how shutter speed, aperture, and ISO work together to achieve a good exposure. There is no better way to learn about light and how to enhance it with your camera than shooting in manual and practicing a lot!
You can read the original article over at PhotographyTalk
Source: PhotographyTalk

