
Photographer Yasine Bessekhouad has put together a comprehensive article on how to use manual mode, over at Digital Photography School.
You’ll get all the information you need to create the correct exposure for the kind of image your going after. That’s the great thing about manual mode – you don’t have to do what the camera tells you. Instead you can change the exposure to create different moods and effects for your photography.
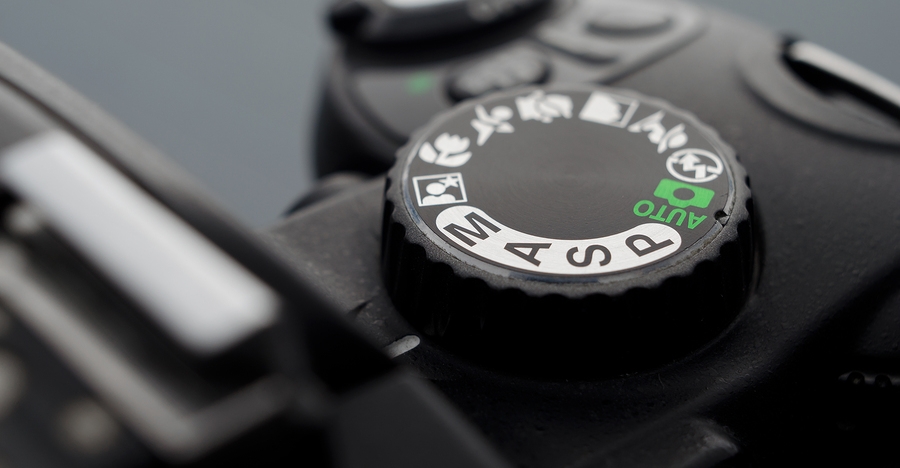
Aperture Priority mode lets you control everything except the shutter speed – it will be set automatically depending on your other settings. You can control your ISO or leave it on automatic.
The aperture (opening in the lens) controls the amount of light that is let inside the camera. There is one confusing thing about apertures. A large aperture lets in more light but large apertures are translated with small numbers. In other words, an aperture of f/1.8 is a large aperture (opening) but the number is small, whereas an aperture of f/16 is a small opening but the number is big. Once you get this straight in your mind, it should be fine because the aperture is not that difficult to understand.
Basically, you use aperture for two main things. If you have low light conditions, you will need to use a big aperture (small number) to let in more light. But mostly we use aperture to control the sharpness of an image. A bigger aperture (small number) will give you a shallower depth of field (a blurred background), and a small aperture (bigger number) will give you a larger depth of field (there won’t be any blur in the background, most of the photo will be sharp).
Shutter Priority mode lets you control everything except the aperture – it will be set automatically depending on your other settings. You can control your ISO or leave it on automatic.
The shutter speed is the amount of time the sensor inside your DSLR is exposed to light. A faster shutter speed will let in less light than a longer one. That is why we use very long shutter speeds in low light photography. The time between the shutter opening and closing will vary depending on how much light you want in your picture.
The shutter speed controls ambient light, that is one very important thing. If you need less light, then get a faster shutter speed. Do the opposite if you need more light. A fast shutter speed will also freeze action because the picture will be taken much quicker than a longer shutter speed. This will let you control if you want a moving subject to appear in motion or frozen in your image
The ISO is the sensitivity of your camera sensor to light. With a higher ISO, the sensitivity to light is increased, therefore you will have more light in your photograph. One tip I can give you is not to be scared of the ISO. It does damage your photo quality wise by adding grain (noise) but with today’s DSLRs you can boost up the ISO to 1000 (or more) and still have good quality. Besides, you can always reduce noise later in post-production. I sometimes take portraits up to 1250 ISO, because I don’t really have a choice and choice is the whole point of this article.
Manual mode
Manual mode in photography is all about making choices. Sometimes use an ISO of 1250 for portraits. Most people would tell me I have no idea what I am doing if they see my settings because they’re scared of a grainy high-ISO picture. But I made the choice to use a high ISO to compensate for the shutter speed (make sure it was fast enough).
To use manual mode, you have to make artistic choices and play with the shutter speed and the aperture, leaving the ISO as an additive compensation to get the correct exposure. If you want to photograph a road with cars passing by in the middle of the day, you will most likely want a sharp photo so you will use a small aperture. You then need a fast shutter speed to freeze the cars so the ISO, in this case, will most likely be pretty high.
If you’re shooting sunsets and you want to capture some clouds moving in the sky; you will most likely use a small aperture to cut down the light, which will force a long (slow) shutter speed so you will likely need to decrease the ISO to 100.
Read the full article with even more tips over at Digital Photography School.
Source: Digital Photography School