
In addition to the video I found an article on light trail photography that will help you get started.
You’ll probably need to be comfortable with shooting in either manual or shutter priority mode. The main thing to keep in mind is that you need to keep the shutter open long enough for several cars to pass through the frame. According to the article that could be anywhere from 10 seconds all the way up to two minutes.
Since we’ll be using a long exposure a tripod will be an important piece of equipment as well.
Setting Up Your Shot:
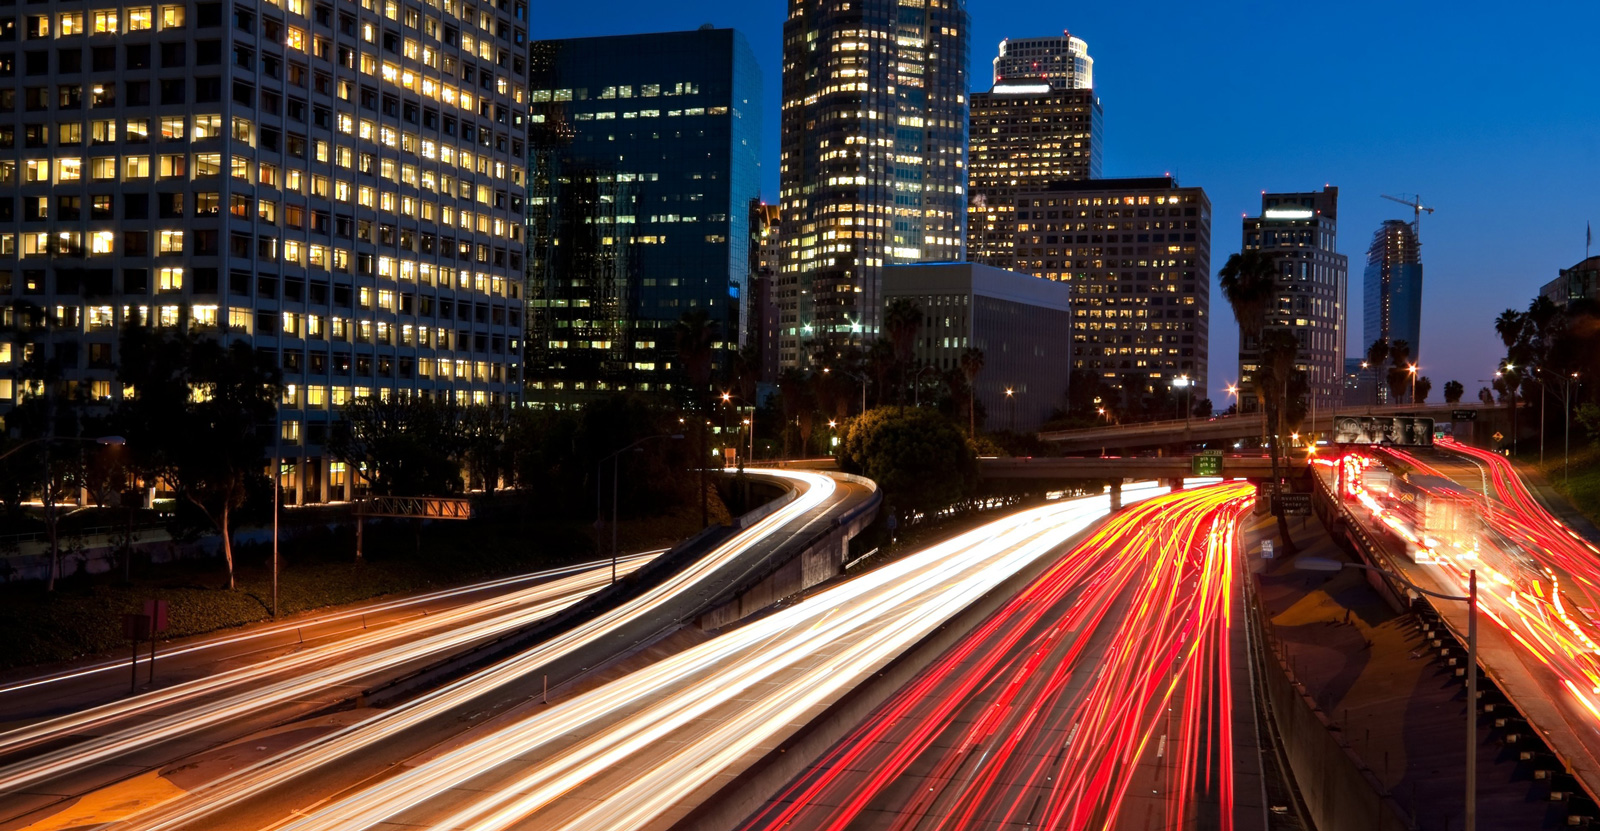
- Timing/Light– one might think that the middle of the night is the best time for light trail photography (and it can be) – however one very effective time to do it is just as the sun is going down (just before and after). If you shoot at this time you’ll not only capture light from cars, but ambient light in the sky which can add atmosphere to your shots. You also might find that earlier in the evening you get a little more ‘action’ in your shot with more cars and even the movement of people through your shot.
- Creative Perspectives– some of the most effective light trail shots that I’ve taken and seen from others were taken from perspectives other than at the height of a normal person standing up. Get down low or find a place looking down on your scene that will create an unusual angle.
- Location– Choose a location that adds interest to the shot in some way. This might be one where there are well lit buildings along the road, one where multiple roads merge together to create light trails in different directions, on the bend of a road so that the trails sweep through the image, near a roundabout so the trails create circular shapes, in the middle of dual carriageways (on a triaffic island) so that you get traffic coming in two directions etc.
- Framing– the normal ‘rules’ of composition apply in this type of photography. Images need some sort of point/s of interest, the rule of thirds can be applied effectively, draw the eyes into your image using lines smartly, foregounds and backgrounds should add to and not distract from the image.
Settings:
- Aperture and Shutter Speed– I wish I could give you shutter speeds and apertures that will work in every situation – but as the ambient light and speed of cars will differ in every situation there’s no one exposure combination that will work in every setting.
Having said this I’ve found that I usually shoot at shutter speeds between 10 and 20 seconds (which gives cars time to move through the frame) and with apertures in the mid range (start with something around f/8).
- Histogram– Lights that burn too bright can cause distractions and draw the eye of your viewer away from focal points – ruining your shot. One way to quickly check out if there’s any area in your shot that is overexposed to this degree is to view the histogram on your shot. If there are areas that are blown out you’ll have a graph with a right hand side that is too high on the graph.
- Choose a low ISO setting– this will give you images with as little noise as possible.
- Shoot in RAW if you have it– this will enable you to have more control in your post production work – particularly in getting white balance right (something that can be important as you’re shooting in a situation with lots of artificial light that can cause all kinds of color casts in your shot).
- Manual Focus– Switch to manual focus and make sure your focus is upon a part of your image that is visually strong.
GO TO THE NEXT PAGE FOR THE VIDEO
You can read the original article over at Digital Photography School.
Source: Digital Photography School