
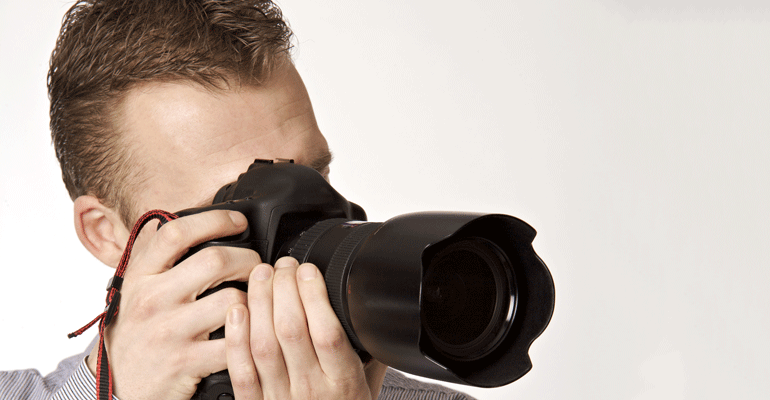
If you learn to use the 7 fundamental techniques we are covering in this article you will eliminate 80% of the image you’re currently experiencing even though you are hand holding your camera.
I did a lifestyle shoot with my wife and son in our bedroom as that is where a lot of our time was spent in those early days and, I wanted something that would be really representative of that time. If you have children of your own or if you’ve shot children before you know that asking them to pose or to turn their nose to the light is simply impossible. They are going to do what they want and you’ll be lucky to get a good expression.
I caught one of my son’s expressions that was just priceless. It was the best expression I had gotten in the entire first year of his life. What do you think the problem with that image was? Short answer- camera shake. The expression was so good I still printed a canvas even though it was somewhat soft and blurry. What I wouldn’t pay right now to have that image pin sharp.
Nothing feels worse than catching a great expression then going to edit and finding motion blur from a shaky hand held shot.
That was probably one of the moments that really sent me on a quest in improving the overall sharpness of my images. Through the process of a lot of searching I found some great material to help me. In particular I found a great video by wildlife photographer Chris Weston that covered the tips below.
When shooting wildlife with a long lens and possible low light conditions camera shake can become a huge problem. The great thing about these tips is they are universal and apply to any subject you might be shooting.
Today whenever I am hand holding my camera one immediate thought comes to mind. How can I best stabilize myself while taking this photo? How can I turn myself into a rock solid Manfrotto tripod even though the camera is in my hand?
In order to help me I have created for myself a mental checklist. 7 tips I go over in my head every time to make sure that what happened with my son in that photo doesn’t happen again. Here are those 7 tips. I recommend committing these to memory and repeating these every time you’re forced to shoot handheld.
Tip #1 Breathe
Whenever you watch a sniper in a movie taking a shot with a rifle you’ll notice one thing. before they take that shot they breathe in then exhale. They then take the shot at the bottom of of that exhale.
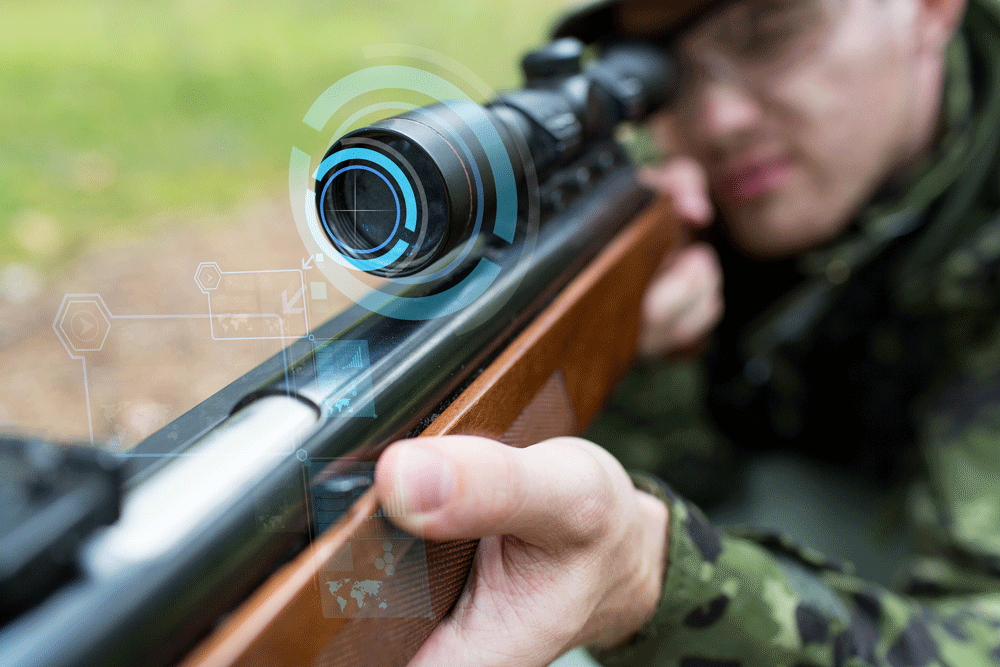 If you’re trying to take a photo while taking a breath or exhaling your body will be moving with those breaths. So just like a sniper. Breath in then out and, take your shot at the bottom of your exhale. By shooting at the bottom of that breath your body will be still and it will be easier to keep your camera still.
Tip #2 Keep your weight centered
When I am standing I try to keep my gravity centered and my feet about shoulder width apart. This is a much more solid stance then if I were leaning right, left, forwards or backwards. If I keep my gravity centered I am in a much more stable position and it reduces any motion that might take place when I hit the shutter. If I am off my center of gravity it’s very easy to sway or teeter totter while taking my shot.
Tip #3 Keep Your Arms And Body Tucked In
I keep my arms close to my body. I do this by pulling both my arms and elbows in tight to my body. If my arms are extended I can almost be sure to have some camera shake in my image. Especially if I am using a heavy lens mike my Canon EF70-200mm. That lens is just heavy I can’t hold it out in front of me for any length of time without my arms shaking. However, if I tuck my elbows I can prop them against my body and let my body hold the weight of the camera giving me a far more stable image.
Tip #4 Find something to lean against
If I can lean against something like a wall I no longer need to worry about my weight being centered since the wall is now stabilizing me. Even with a good centered stance I am not nearly as stable then if I have an immovable object to lean into and stabilize me.
Tip #5 Lay Down
Even better than leaning against something is laying down on the ground. I can actually position my arms similar to a tripod for a super solid stance. This is by far the most stable of all positions however, laying down is not always the best perspective for the photo I want to take. That leads me to the next tip.
Tip #6 Kneel down and use your knee as a stabilizer
If I kneel down I can actually prop my elbow onto my knee. This will give me a solid foundation similar to a tripod or monopod. If I try to kneel down without propping an elbow on my knee I have found it can lead to swaying or, arm shake that may put motion blur once again into my image.
Tip #7 Lean against something while kneeling
Just like leaning against something while standing you can lean against something while kneeling. Once again you won’t have to worry nearly as much about trying to center your weight and remaining still since that immovable object is bearing your weight. Just be sure that whatever you’re leaning against is sturdy enough to hold you still.
In closing I recommend you go out and try this for yourself. Pay attention to how you were shooting in the past. You may have been employing some of these tips but failing to employ others. Make sure to add whichever of these techniques you weren’t using and I have no doubt both you and your subjects will be much happier with your photos.
Okay
Buy a sony
Was hoping to learn something new, but found the same tried and true tips I have been using for the last 40 years. Just goes to show you, what works best is what has worked for years. Excellent Article.
Nice 🙂
Excellent advice. I practice some of them when shooting. Not always you can carry a tripod and in some othe places they are not allowed. Thanks
I like to use a Manfrotto monopod, for extra stability, when a tripod is not in use. I like to shoot medium format, with a pentax, when possible. When not possible, I use full frame Nikon. Photo is a crop of a pix taken a few days ago, through a tree that blocked the view.
Comment to Frederick Mullis. Optics do not change and light capture has physical laws that do not change, so the old laws are still the same, but the technology is better. I use the histogram when I need to check if it is doing what I want, which is really nice. A camera should not have 40 buttons/dials, but it does. It took me hours to read the manual for my medium format camera so I could do things like turn off the multi sensor spots for AF, and now have 3 with center focus only. White balance tuning/dialing is a pain, when all you should have to do is take a photo of a piece of white paper. I have to make camera settings to ensure my old glass lenses would work in manual focus with mirror lock-up, but with all the tweaks, I love the results, and shoot in manual, aperture or shutter priority 90%. Synking the flash timing and remote control shooting with a tripod, after setup and new bells and whistles compliment the basics and give me freedom. In studio I use the remote while the big camera is in a fixed position, and shoot at the same time, with my Nikon full frame hand held, giving me the best twice.
Basically the same advice for all 7!!! Really?!