
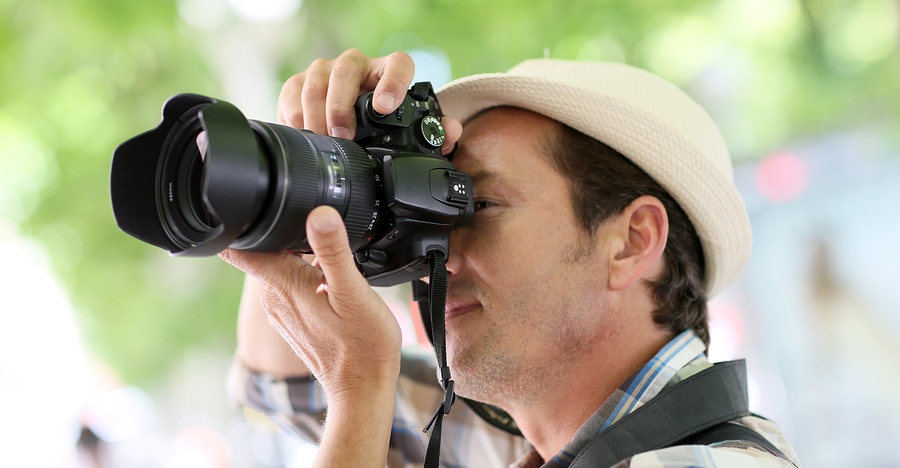
I remember when I got my first DSLR it was so difficult to take pictures of objects and situations that were moving and changing all the time.
What shutter speed do I use to capture that car that’s getting closer? Oh wait, what about that dog right there? Where did that cloud come from and why did it have to block the sun right now? When the lighting conditions and your composition are constantly changing, you often make the mistake of paying too much attention to your camera, instead of keeping a close eye to your surroundings. Here’s what photographer James Maher has to say about the subject over at Digital Photography School.
When working with photographers, I see this happen frequently. They understand everything they need to know about their camera, but yet they still freeze and do not know what to do when it counts. I believe this is due to one major issue. When they come across a beautiful scene, the first thing that they do is look at their camera to figure out what to do.
Consider the light before thinking about your camera settings
Before you even think about your camera, you need to first look at the light, and understand it. How can you know how to set your camera settings, if you don’t first understand the light?
How strong is the light? Are you in bright sunlight, in light or dark shade, or is it dark out? Are you dealing with artificial light? Is there back lighting, front lighting, or side lighting?
Does the scene have both dark shadows and bright highlights? These are situations where most newer photographers screw up, because this can confuse the camera light meter. In these moments, you need to figure out whether you want the shadows or the highlights to be exposed correctly.
Think about what aperture you are going to want. Do you want a large or shallow depth of field (or do you even have a choice due to the amount of light)? Are you photographing anything in motion, or using a long zoom such as 300mm (the shutter speed always needs to be at least 1 over the focal length to offset handheld camera shake)? If so, you will need a faster shutter speed. Based on this, and how strong the light is, you can then set your ISO accordingly, depending on how much light is available.
Review during editing
The last step is to review how you did during the editing process. This is very important to do early on. Go through your images and see which were blurry, exposed wrong, or where the depth of field could have been better. Look at the settings you used. You don’t want to just rely on Lightroom to fix your images. Try hard to improve when you are shooting, so you won’t have to fix images later. Your photography will be better for it, and you will be more comfortable with your camera settings the next time you are out shooting.
Read the full article with even more tips over at Digital Photography School.
Source: Digital Photography School