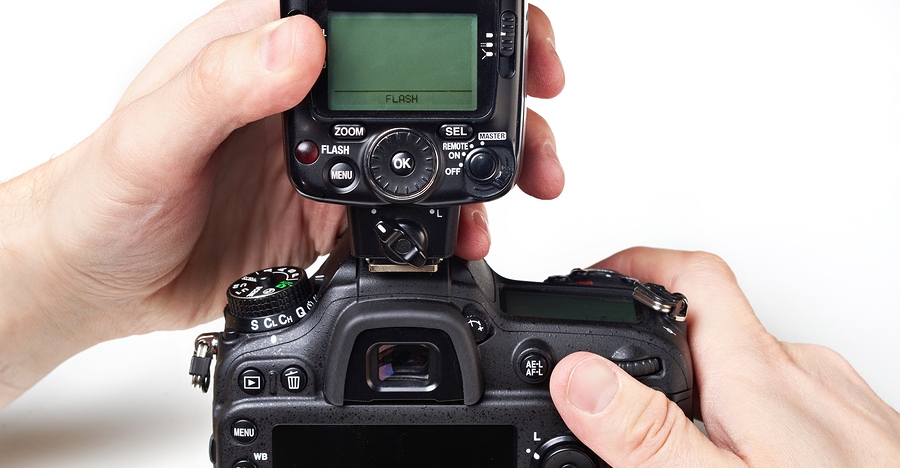
Photographer Jim Wise has put together a great tutorial for on-camera flash, over at Digital Photography School.
These tips will help you understand the basics of how the on-camera flash works and how you can adjust it to get better photos. I used to struggle with combining ambient light with flash but it’s not complicated at all, once you understand the changes you need to make to your settings.
MATCHING THE LIGHT
Let’s take the example of photographing indoors. The best way to do this that I’ve found is to meter the ambient light in the room first. The camera can be in any exposure mode to take this reading. If for example, your exposure is 1/30 at f/5.6, ISO 800 – you would then switch the camera to Manual mode and make those your camera settings. Note that some cameras have a slow sync setting, or you could also use shutter priority to get this same balance.
You can leave the flash set on TTL mode and let it adjust its power output automatically. When you take the image you should have a remarkably balanced exposure. This can be further fine-tuned by adjusting the flash exposure compensation to add a little more, or a little less, fill light to the image. Flash exposure compensation can be added on the flash unit itself, or by adjusting the settings in the camera.
If you find that you need a little more depth of field to get your subjects in focus you can bump up the ISO to 1600 and lower the aperture setting to f/8. If you can use less depth of field, do the opposite by lowering the ISO to 400 and opening your aperture to f/4. There are always tradeoffs to be made, and you might not be able to handhold that particular lens at 1/30 second to get a steady image. Try using a monopod or tripod to help with that issue. For a faster shutter speed you might want to try 1/60 at f/5.6 with 1600 ISO. If you need to get your depth of field back to f/8 then you might need to be daring and go to 3200 ISO. Digital noise levels are improving all the time so don’t be afraid to try a higher ISO.
If you are photographing outdoors the opposite is true. Go to the lowest ISO to match your ambient light with your flash. There’s no way a flash can compete with the sun, so if you can select a lower ISO you will have a better chance of balancing ambient and flash at f/8 or f/11, rather than f/16 or f/22.
DIFFUSERS
Some flash units come with diffusers and I’ve had good luck with those. These are usually plastic, and they snap on tightly in front of the flash. There are also many innovative aftermarket diffusers available. Some units are a card type that bounce the light and redirect it to a larger pattern. Some diffusers are of the softbox type with a diffusion panel that the light passes through.
Some diffusers take the plastic design to a much higher level (such as the Gary Fong brand). All of these diffusers are variations on taking a directional light, such as an on-camera flash unit, and modifying the light to lower the amount of shadow that you would normally get from a harsh light source. My recommendation is that you try some of these for yourself and see what works best for you. Your flash, the environment you’re photographing in, and the type of photos that you take are all factors that could determine which is the best one for you.
Read the full article with more tips over at Digital Photography School.
Source: Digital Photography School

