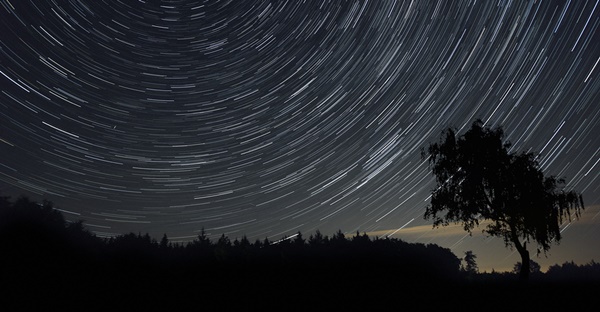
This article by Rebecca Greig over at Digital Photographer gives you step-by-step instructions on how you can use Lightroom to improve your images of the starry skies.
To get started, import your image to Lightroom and take it to the Develop Module. On the right hand side, under the Effects drop-down panel you will find the Dehaze adjustment. This is a great tool to take away some of the haziness that may appear in your images.
Get rid of haze As soon as you boost up the Amount slider your hazy image will become punchier in tone and colour. A high setting of +50 or above is desirable in most cases – for astro shots +100 is fitting.
Take it further With the Dehaze slider set to +100, go to the Tone Curve adjustments and set Highlights to +50, Lights to -25, Darks to -20 and Shadows to -80. The aim is to brighten the star streaks and darken the sky.
Increase Clarity If your stars are looking lost in the dark sky, locate the Clarity slider under the Basic tab. Increasing this slider will not only add impact to the black regions, but also help to define star trails.
Reduce noise If your image is showing signs of noise as a result of these changes, go to the Detail options and locate Noise Reduction. Increase the Luminance slider as well as the Color slider until noise is reduced.
After these steps you can go on and adjust the colors of the image, if needed.
Read the full article over at Digital Photographer.
Source: Digital Photographer

