
This article over at PhotographyTalk explains what settings to use to make sure your night time images will turn out amazing.
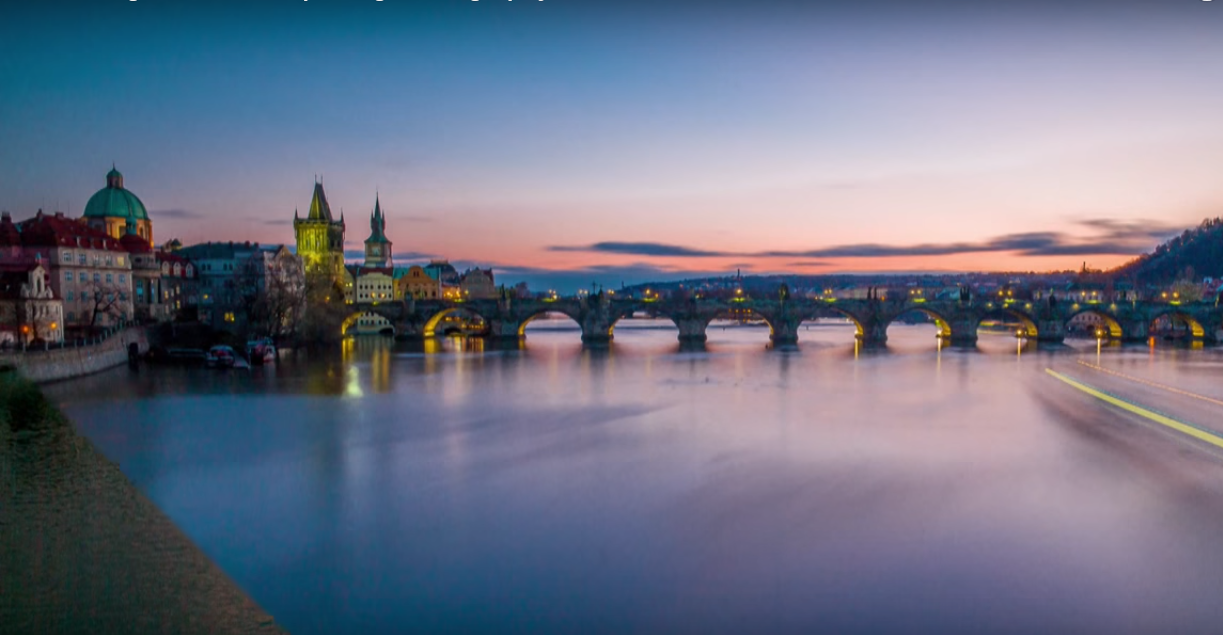
When we’re talking about taking pictures in the dark, you need to compensate the lack of light by changing your settings. Usually that means a longer shutter speed and that can cause blurriness in your images if your camera is not perfectly stable. The best way to reduce motion blur is to set your camera on a tripod. However, there are ways to capture great low light images even without a tripod, as explained in this article.
Shoot in RAW
The recommendation to shoot in RAW format is probably a lot like a broken record at this point. The benefits of shooting in RAW are just too many not to do it! With no compression, more pixel information, and an abundance of post-processing options, your final product will be better if you shoot in RAW versus shooting in JPEG. Adjust exposure, white balance, saturation, sharpness, and so on and so forth, all without impacting the original data. And, since memory cards can hold a vast amount of data these days, you needn’t worry about the large size of RAW files.
Shoot in Manual Mode
There is no fallback for shooting at night – manual mode is the way to get it done! Your camera may struggle mightily to get the exposure right, so relying on your own two eyes and your understanding of the exposure settings on your camera will be your best bet.
To get an idea of what the settings need to be for a proper exposure, do the following experiment:
Set your camera to ISO 6400.
Dial in whatever aperture you’d like to use.
Set the shutter speed to one second.
Take a sample image
What this does is give you an image that is essentially the same as a 1-minute exposure at ISO 100, a 30-second exposure at ISO 200, and so on. If your image is too bright, try reducing the shutter speed to 30 seconds. Doing so changes the scenario to being equivalent to a 30-second exposure at ISO 100, a 15-second exposure at ISO 200, and so on.
Once you find the right shutter speed at ISO 6400, you can then dial in it’s equivalent at ISO 100 or 200 to create an image with far less noise. The other benefit of using this trick is that you don’t have to take tons of long exposure images as you try to find the right settings. You’ll be out there for long enough in the dead of night creating long exposure photos, so you probably don’t want to extend that time by taking dozens of test shots at 30-second and one-minute intervals.
If you’d like even more tips on how to create beautiful long exposures at night, check out the following video.
GO TO THE NEXT PAGE FOR THE VIDEO
Read the full article over at PhotographyTalk.
Source: PhotographyTalk