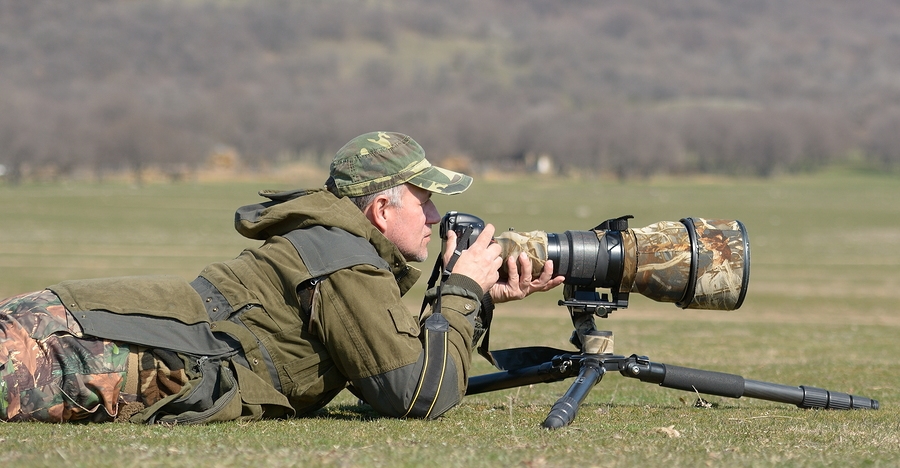
Award-winning professional wildlife photographer Will Nicholls knows what he’s talking about when it comes to taking exceptional wildlife images.
This is what he has to say about different camera modes and how to make the most of them in wildlife photography. Manual mode is great for many types of photography, but sometimes other options will give you better results.
Manual Mode with Auto ISO
This is a popular choice amongst wildlife photographers too, although I have yet to use it myself. By sticking the camera into manual mode, but leaving the ISO set to automatic, you retain control over both aperture and shutter speed, allowing the camera to adjust the ISO to balance the exposure. Personally, I like to have control over the ISO, as I feel this can ruin an image.
This mode does allow you to ensure you have the desired aperture and shutter speed for proper effect, but consequently you may not notice that your ISO is increasing quickly as light conditions drop. The worst thing to find is a photo that looks fantastic on your camera’s LCD, until you return to your studio and find it is peppered with digital noise.
Even so, getting into a good habit of checking the ISO settings periodically during a shoot, will mean this is no longer a problem. With experience you’ll learn what the limits tend to be for certain ambient conditions, before the ISO gets ramped up.
Aperture Priority Mode
This is my personal favourite. Aperture priority mode allows you to set the aperture you require, leaving the camera to adjust the shutter speed automatically, in order to balance the exposure. You can increase your ISO should the light become a limiting factor, letting the camera increase the shutter speed as a result. But you still have total control really, because all you need to do is adjust your exposure compensation to fine-tune the resulting photo.
A wide aperture often favours wildlife photographs, as it allows for a nice, soft bokeh, that isolates the subject from the background.
Shutter Priority Mode
This is definitely not the mode you want to be in, if you’re going to involved in wildlife photography. Chances are you’ll be setting your shutter speed high – and probably too high at that. Wildlife is most active at dawn and dusk, and while you may find it relatively easy to see, it is surprising how little light is available to the camera, especially if you’re shooting with a lens slower than f/2.8. With a shutter speed dialed down, the camera only has so far it can go in increasing the aperture before the photo starts to become underexposed. Conversely, with aperture priority mode there is no real limit to how fast or slow the shutter speed can go – the worst thing that may happen is you get a blurred image, although this can sometimes come off artistically.
Read the full article over at Digital Photography School.
Source: Digital Photography School

