
In this article over at Digital Photography school, landscape photographer Christian Hoiberg is going through the most common mistakes beginning landscape photographers are making.
The first one is my pet peeve and I can’t understand how people don’t notice it in their images. Well, I didn’t either when I first started!
Uneven or crooked horizon
In many photographers’ opinions, there are few things more annoying than viewing landscape images with a uneven or crooked horizon. I see so many images with great potential that are ruined because of this issue. The reason we find this annoying is that the composition is severely weakened with an uneven horizon. Instead of using the composition to lead the eye towards the subject, the horizon will grab your attention and lead the eye straight out of the image.
Luckily there are a few simple tools to fix this problem, both in the field and in the post-production stage.
In the field: Use a spirit level
It’s becoming more common, even for mid price-range cameras, to have a built-in spirit level. Nikon names it Virtual Horizon, and Canon has the Electronic Level. Personally, I use the Virtual Horizon for all my compositions when the camera is mounted on a tripod (which is 99% of the time). This tool shows you a spirit level on the camera’s LCD screen, so you need to be working in Live View. Note: Keep in mind that using Live View will drain your battery much quicker.
Shooting during the daytime
During midday the light is harsh, and very few images looks good in these conditions. If you want to improve your landscape photography you need to go out and photograph during sunrise and sunset. Daytime is perfect for scouting locations or sleeping.
As always, there’s a few exceptions to the rule:
- Commercial travel photography: If you’re photographing for tropical hotels and resorts, they do need sunny pictures, as this is what attracts tourists.
- Cloudy days can be okay for photographing waterfalls.
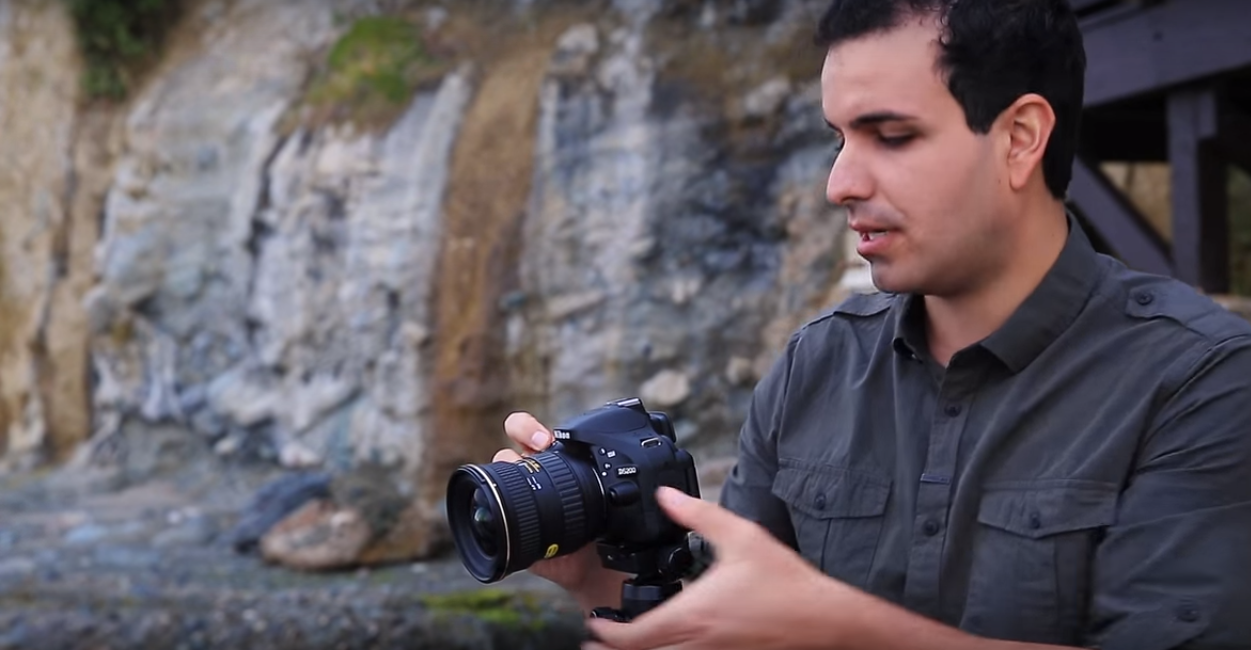
Not using a tripod
Besides the camera itself, a tripod is the most important tool for landscape photography. While some may complain that it’s not practical to travel with, trust me when I say – there’s an ocean of opportunities when you begin using a tripod.
Not only will your images become noticeably sharper, you will also be able to do certain techniques that aren’t possible without a tripod (such as long exposure photography). Let’s look at some of the advantages of using a tripod for landscape photography:
- You’re able to achieve longer exposures without getting blurred images.
- You don’t need to use a high ISO to keep the image sharp. Keep the ISO low and use a longer shutter speed instead.
- You can carefully make your composition and keep it for many images.
- Since the camera stays in the same spot you can take multiple images and stack them later (for things like: HDR, time-lapse or techniques to remove people).
- You’re able to keep the image straight by using Live View, and carefully adjusting the tripod.
- The amount of motion is reduced so your images become sharper.
To give you more tips on how to get started in landscape photography, we found a great video for beginners.
GO TO THE NEXT PAGE FOR THE VIDEO
Read the full article with even more tips over at Digital Photography School.
Source: Digital Photography School