
Life and travel photographer Sebastian Boatca is giving us great tips for night photography over at The Phoblographer.
We picked seven of our favorites to help you get started. I have found all of these tips extremely helpful when shooting at night and in other low-light conditions.
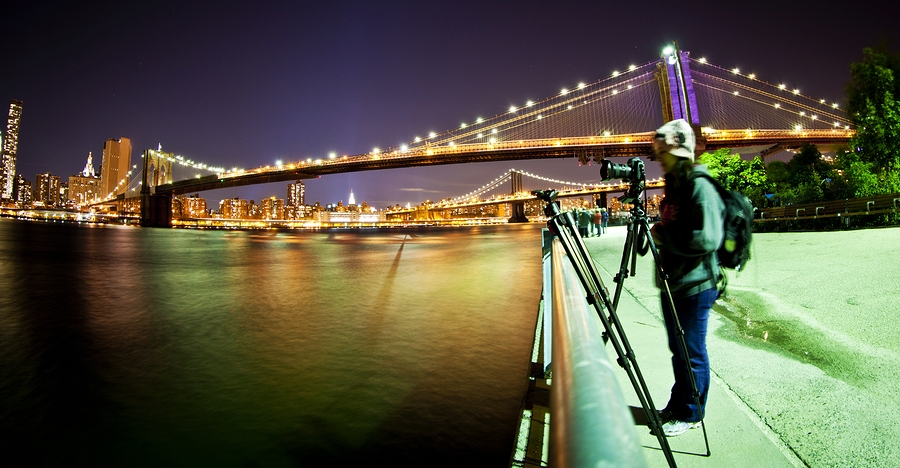
- Get a tripod. If you are interested in very sharp images, or long exposure photography, use your lowest ISO settings (ISO 100-200); you will notice that your exposure time in low light conditions will be quite long. So use a sturdy tripod, and hang your bag or backpack on the central column of your tripod, to make it heavier and even more solid, especially when you have a windy night. If you do not travel with a tripod in your backpack, simply put your camera on a steady surface. Make your settings accordingly and when you are ready to shoot, don’t touch the camera. Instead, use a wired (or wireless) remote control shutter release. If you don’t have a remote control, set your shutter timer to 10 seconds, for example. Or use a smartphone App via Wi-Fi, to remotely take control of your camera, as I do with my Fujifilm X-T1. This way, nothing will touch the camera and you will get sharp images.
- Use wide-angle lenses. We all know what they are good for. But shutter speed is related to the focal length of your lens, when shooting hand-held. The shorter the focal length, the bigger the minimal shutter speed value. This means less to zero chances of getting unsharp pictures due to hand movements. With an ultra-wide angle lens, let’s say 12mm focal length, applying the rule above will result in a minimum shutter speed of 1/(12*1.5)=1/18 sec theoretically. And the longer that time value, the lower the ISO in low light conditions. Less image noise, more clarity!
- Use fast lenses and shoot at their widest aperture. One of my favorite rule for night photography. Of course, this is firmly related to the available budget for more expensive lenses. By fast lenses, I mean those lenses with a very wide aperture. For me, what is wider/faster than F2.0 is a fast lens. Typically, the zooms are slower than the fixed lenses, due to their construction and technical formula they are based on. A professional zoom lens will have its widest aperture at F2.8, for example (some of them at F2.0 or even F1.8). A good prime lens could have its widest aperture at F1.4. That means 2-stops advantage (of light and speed) over the typical professional zoom. I have 2 prime lenses, that are fast enough for my night photography needs. XF 35mm F1.4 and XF 56mm F1.2. And I am wondering how nice would it be to shoot with a rumored XF 33mm F1.0 lens, that is supposed to arrive in the future to come! I like Fujinon lenses for their robust metal construction, compact size, the manual aperture ring on each lens (just like in the old times with manual focus lenses), their superb optic qualities and the sharpness at their widest aperture. I also use a constant F2.8 pro-grade zoom lens, which is also really good when I travel and do not have the time and opportunity to change the lenses. Shooting at the widest aperture of your lens will ensure that your camera sensor will receive the maximum amount of available light, during the evenings and the nights. A faster lens will offer you lower ISO values and/or shorter exposure times (which means less chances of getting unsharp, blurry pictures), even the opportunity to forget about carrying a tripod.
- Get your comfortable technique for holding your camera. When dealing with longer exposures during the evening/night and traveling without a tripod, or simply you want to catch the moment and there is no time to think about it, you need to master your way of holding your camera as steady as possible. Brace your arms, put your elbows against your abdomen, keep a distance between your legs, lean on fences, walls, trees, to get you camera as steady as you can, when shooting hand-held. You could also rest your elbows on a hard surface, whatever you find appropriate in your location. Imagine you could build up a tripod, a solid structure, with your body. Don’t hold your breath, but breathe normally, stay calm and shoot between breaths. I prefer to shoot when the exhaling is just finished.
- Shoot 2, 3 frames from the same position. There is always a chance that your image could be blurry. Take more than one shot, to maximize the chances of bringing home at least one sharp image from every location you were photographing.
- Underexpose a bit. Using your Exposure Compensation function (I have a dedicated dial on the upper part of my Fujifilm X-T1), you could underexpose your shot, to get the darkness areas really dark. The metering system of your camera, at least in the latest generations of DSLRs and Mirrorless cameras, uses a very advanced algorithm to calculate exposure. But you need to overexpose a little when shooting in a snowy day, to make the snow look white, not light grey. The same logic applies when shooting in the dark. Your camera tries to overexpose, to bring some lightness in the dark areas. Like a night sky that looks somewhat blue-grey and has that washed-out look. So, if you need to get the black areas look black, underexpose accordingly until you get the desired image.
- Don’t rely on your LCD screen to examine the sharpness of your images. That screen is too small to show you the real thing. You may think you have a great image, until you arrive at home and see it on your large monitor, only to find out that it is a little blurry. (Check tip #5)
Source: The Phoblographer
Pages: 1 2