
This article by Dan Richards over at Popular Photography gives you a good idea of how you can work with light to make your subject stand out.
Sometimes, especially if you’re a beginning photographer, you’re so focused on your subject that you forget to pay enough attention to the light.
Start experimenting with these tips and you’ll soon notice great improvement in your photography.
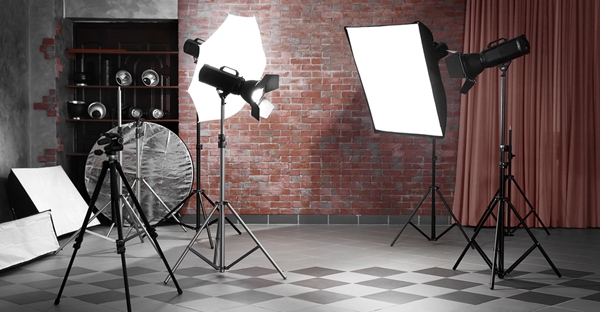
Diffusion scatters light, essentially making the light source broader and therefore softer.
When clouds drift in front of the sun, shadows get less distinct. Add fog, and the shadows disappear. Clouds, overcast skies, and fog act as diffusion—something that scatters the light in many directions. On overcast or foggy days, the entire sky, in effect, becomes a single very broad light source—nature’s softbox.
Tip: Materials such as translucent plastic or white fabric can be used to diffuse a harsh light source. You can place a diffuser in front of an artiflcial light, such as a strobe. Or, if you’re in bright sun, use a light tent or white scrim to soften the light falling on your subject.
The farther the light source, the more it falls off— gets dimmer on your subject.
The rule says that light falls off as the square of the distance. That sounds complicated, but isn’t really. If you move a light twice as far from your subject, you end up with only one-quarter of the light on the subject.
In other words, light gets dim fast when you move it away— something to keep in mind if you’re moving your lights or your subject to change the quality of the light.
Also remember that bouncing light—even into a shiny reflector that keeps light directional— adds to the distance it travels.
Tip: If your subject is frontlit by windowlight, keep the person close to the window to make the room’s back wall fall off in darkness. If you want some illumination on the wall, though, move the person back closer to it and away from the window.
Frontlighting de-emphasizes texture; lighting from the side, above, or below emphasizes it.
A portraitist may want to keep the light source close to the axis of the lens to suppress skin wrinkles, while a landscapist may want sidelighting to emphasize the texture of rocks, sand, and foliage. Generally, the greater the angle at which the light is positioned to the subject, the more texture is revealed.
Shadows create volume.
That’s how photographers describe threedimensionality, the sense of seeing an image as an object in space, not projected on a flat surface.
Again, lighting from the side, above, or below, by casting deeper and longer shadows, creates the sense of volume. Still-life, product, and landscape photographers use angular lighting for this reason.
Bouncing light acts as diffusion.
Aim a narrow light source at a broad, matte surface—such as a wall, ceiling, or matte reflector—and it not only reflects the light but also diffuses it by scattering it over a wider area.
Use a shiny reflector, though, and the light will stay fairly narrow on the bounce. The most extreme type of shiny reflector—a mirror—will keep the light focused pretty much as narrowly in the reflection.
Tip: Crumple a big piece of aluminum foil, spread in out again, and wrap it around a piece of cardboard, shiny side out. It makes a good reflector that’s not quite as soft in effect as a matte white surface—great for adding sparkly highlights.
Read the full article over at Popular Photography.
Source: Popular Photography