
This article was written by Lisa J Holloway for Clickin Moms
Lisa has 10 children and is a highly paid photographer and instructor from Las Vegas Nevada. I have been an admirer of her work for quite some time now. I wanted to take one of her post editing classes but they book up and you cannot get in.
Lighting is everything!
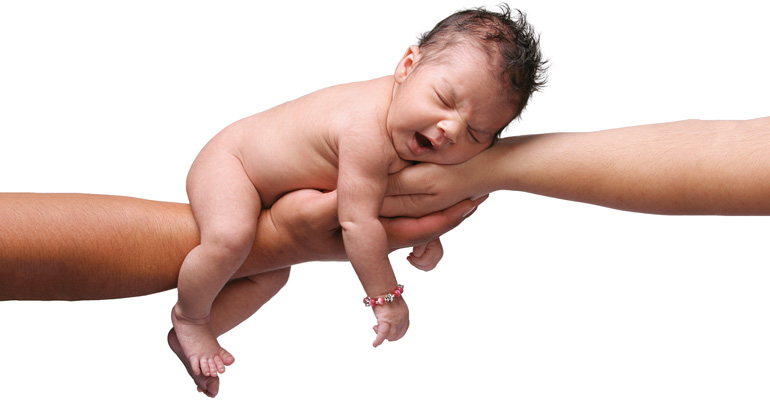
One of the most common mistakes I see in newborn photography from pros and amateurs alike is improper lighting. If I had a dollar for every up-lit baby I saw floating around online, I’d be a very rich woman. Whether you’re photographing for a client or for yourself, one of the things that can make or break a photo is your lighting. Think about the most natural source of lighting we have – the sun. It is in the sky above us. Therefore, seeing a person who is lit from below is very unnatural looking. It is so unnatural looking that it is often seen in horror movies or to depict something frightening. We definitely do not want our baby to look like they belong in a horror flick! You do not need any fancy studio equipment to get this right. Almost all of the photos I took of Gabriel were done either in my garage or in front of one of my living room windows utilizing natural light. A good rule of thumb for nice soft shadows and highlights is to have your baby angled such that the light flows from the top of baby’s head on down their body at approximately a 45 degree angle. Look for a soft shadow underneath baby’s nose to verify that you have this right. Feel free to experiment, go for a more drastic angle. Have fun playing with different angles and perspectives, but do not, I repeat, do NOT up-light your baby!
Tiny details.
Don’t forget to document all of those sweet little details that make your baby unique! That little upturned nose, her rosebud lips, his crinkly little chin, those tiny toes and fingers – these are all things that you will not want to forget as your baby grows. If you have a macro lens, now would be the time to pull it out of your bag, dust it off, and put it to good use. If you are having trouble getting the images you want from your macro lens, here are a few tips. Close down a bit – when you are working as close-up as you will need to be to do a macro shot, shooting wide open will give you a very small depth of field. Unless that is what you are going for, try closing down to F-5.6 or even further. In addition to closing down, take that lens out of auto focus and try using manual focus. I had much better results with my macro using manual focus! Do not worry too much about your ISO. If you need to crank it up to avoid underexposing your images, do not be afraid of doing so. Experiment and have fun! When I was shooting Gabriel’s newborn photos, I kept my macro lens sitting on the table next to me so I could easily swap out lenses and snag some macro shots during each of our ‘mini shoots.’ I found this to be much easier than trying to get them all at once. If you have an extra camera body, you could leave your macro attached to it to easily grab those macro images as you go. Some things to consider shooting with your macro lens – noses, lips, eyelashes, ears, toes, fingers, belly buttons, hair, fuzzy shoulders – those details will change so fast as your baby grows and this is a wonderful way to preserve those memories.
Angles and perspectives.
Instead of rushing to change your setup or reposition your baby, try getting up and walking around your baby to see what unique angles you can photograph. Try walking behind your baby and shoot some pictures from the shadowed side – you may end up with an image that you love! Exhaust all of your different angles and perspectives before moving on to a new pose or setup. This is an easy way to get variety out of a single pose.
Get 7 More Tips From The Original Article Over At Clickin Moms
Source: Clickin Moms