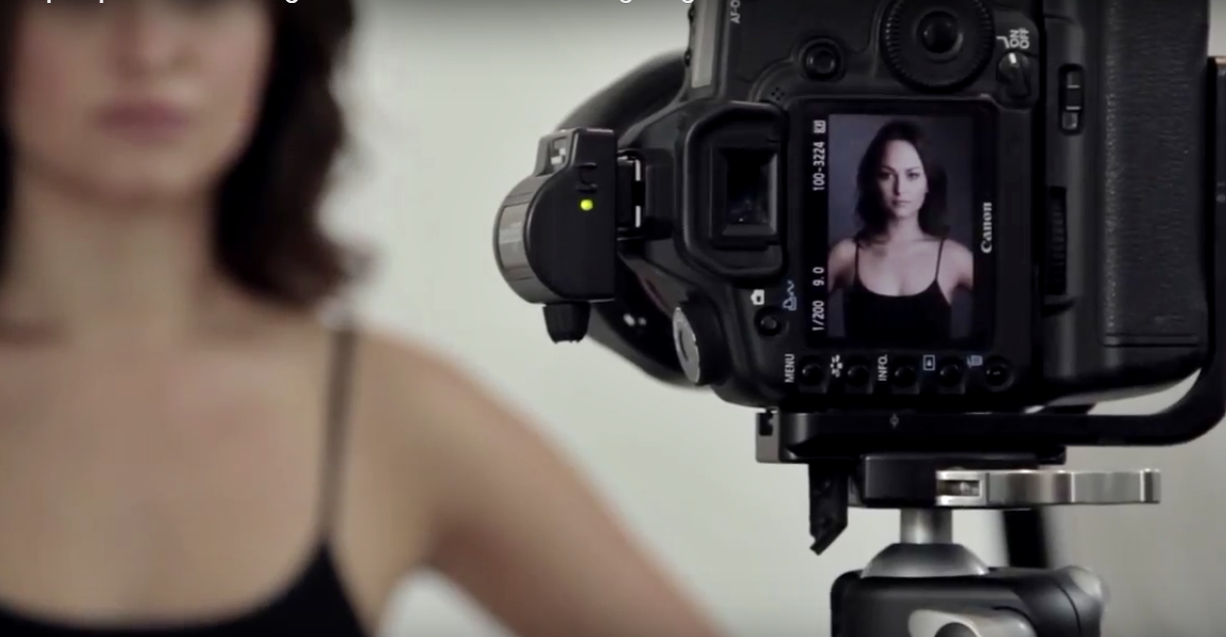
A great way to really bring out your clients features is to use a technique called Rembrandt lighting.
This type of portrait lighting gives you dramatic results and, in my opinion, works even better in black and white. This article over at Popular Photography explains the basics of Rembrandt lighting.
Merge the power of two classic formulas, Rembrandt and window lighting. Rembrandt lighting (named after the Dutch master whose portraits epitomize the style) is prized for its ability to bring out facial modeling.
Jorns, who is based in a suburb of Duesseldorf, describes Rembrandt lighting as “a style that illuminates only one side of the face, but with some detail remaining in the shadowed side. Its signature is a triangular highlight under the eye on the shadowed side that emphasizes the face’s plasticity.”
For Rembrandt lighting, place your main source to the left or right side of the subject and aim it down at the face at about a 45-degree angle. Keep adjusting its position until you see the telltale triangle and the shadow to the side of and slightly below the nose.
If the sky is heavily overcast and its light weak, put your subject as close to the window as possible. The positioning will be correct when the light on the subject’s face has a glow relative to the background.
The window shouldn’t be too large, but, if possible, it should reach down to the floor, especially if you’re posing your model seated. If your window is large, letting too much light into the room, hang black flocking in front of it to reduce its size. The point is to keep it strongly directional.
Avoid reflectors. They can bring out too much shadow detail. Rembrandt didn’t use them and neither should you.
If you’d like to learn more about Rembrandt lighting, check out the following video tutorial.
GO TO THE NEXT PAGE FOR THE VIDEO
Read the full article over at Popular Photography.
Source: Popular Photography

