
Award-winning fashion photographer Emma Grigoryan has put together this great article over at Fstoppers.
She is giving us tips on what kind of things you can do with your reflector to improve your portraits, and not all of them have to do with reflecting the light itself.
For example; have you ever thought of using a large reflector to create a bit of privacy for your model while she’s changing outfits?
Reflect and Deflect
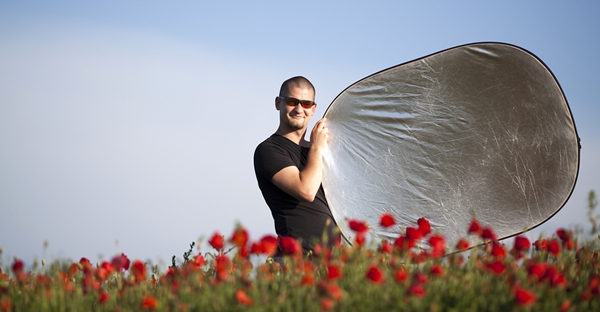
The most common usage is of course, using the sides as a reflector or deflector. Silver and white work on the same color scheme. However, silver will reflect more light. So consider using the proper one depending on your setup. These two work great as additional light source for studio lights, especially for headshot and beauty work. Think of using the silver side if you lit your subject from a distance and the white, when you just need a bit of fill for the shadows. The gold side might also be used in the studio, but because it gives a warmer light, you might want to use it outdoors most of the time (depending on the colors you wish for). When positioned properly, reflectors might become your favorite on the go rim light and add a new dimension on your work in almost no time.
Backdrop
Most of the time, photographers stick to black or white backgrounds or backdrops, which to be honest becomes boring quickly. But if you feel like being creative with backgrounds, look no further than your reflectors! When used correctly, the silver and gold sides might turn into an ingenious backdrop. One useful trick to always obtain a balanced outcome is to pay attention to the color scheme for the overall styling done on your subject. For example, you might consider using the gold side of the reflector as a background if your model has a bronzed makeup. The same logic applies if your model is wearing a cool metallic eyeshadow. Pair it then with cool toned, but bright lipstick in front of the silver side of the reflector. Don’t be afraid to light up the reflector background for even more interesting feel.
Play With Background
Some of you might own a studio filled with numerous lights. But others just work hard to get a place with a window and use a couple of reflectors to produce the same kind of images. Having constant controllable light is perfect, but what do you do when you are tight on budget? Stock up some reflectors! There are many options online for any budget and they all do great job. Try arranging a couple of reflectors behind your model and direct the available light source to create non-flat background.
If you have one light source, say a speedlite, and only one reflector kit, you can still get various moods. Instead of aiming the light directly to your model, try aiming it to your reflector, and bounce the light back on your model with a more even and softer light.
Read the full article with even more tips over at Fstoppers.
Source: Fstoppers