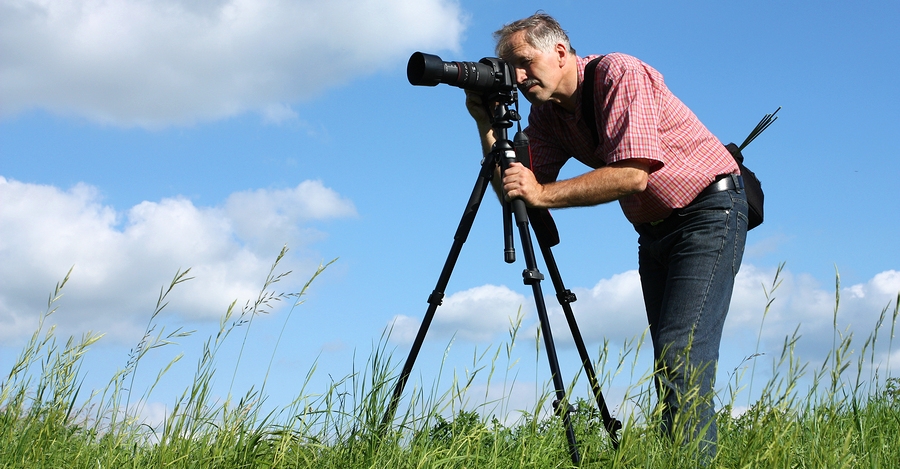
Jeff Meyer over at Digital Camera World has put together a tutorial on how you can improve the sharpness of your landscape photos.
We picked the 5 most important tips besides using a tripod – try doing these the next time you’re out there shooting a beautiful landscape and I promise you won’t be disappointed!
Do… use mirror lock-up
The action of the mirror bouncing up and down inside the camera is enough take the edge off sharpness at slower shutter speeds.
Use your camera’s mirror lock-up function — not to be confused with the mirror-up function used for cleaning the camera sensor — to move the mirror out of the way before you make the exposure.
With the function activated, a single press of the shutter release locks the mirror out of the way — you’ll know it’s worked because the viewfinder turns black. After a few seconds, any vibrations will have faded, allowing you to press the shutter release again to take the shot.
Some cameras have an exposure delay function that works in a similar way. For those that don’t have either, just use Live View mode: here, the mirror is already out of the way, allowing the rear screen to show a direct feed from the exposed camera sensor.
Don’t… leave image stabilization switched on
Some image stabilized (IS) lenses can detect when the camera (or the lens itself) is attached to a tripod and switch off the system accordingly.
But why take that chance? Not all lenses have this feature, and if image stabilization remains active while the lens is fixed to a tripod then the system essentially gets into a ‘feedback loop’ and attempts to compensate for vibrations that aren’t present. The result? Soft pictures.
For sharper landscapes, switch off IS.
Don’t… rely on autofocus
Autofocus isn’t always accurate: some lenses and AF systems show back-focus or front-focus errors, where the lens actually locks focus slightly behind or in front of the object that appears to be sharp in the viewfinder.
Using AF Microadjustment (AFMA) to calibrate each camera and lens combination you have is one way to improve autofocus accuracy, but when it comes to photographing landscapes, manual focus is the way forward.
Do… use hyperfocal focusing
Hyperfocal focusing is a technique that involves manually focusing the lens at the hyperfocal distance. It’s a trick that landscape photographers use to give their photos as much depth of field, or front-to back-sharpness as possible.
The old-school advice for photographing landscapes is to focus a third of the way into the scene. This is because the depth of field extends approximately one third in front of the object you’re focusing on, towards the camera, and two thirds behind it.
If you focus on the closest point in the scene, then the depth of field in front of it is essentially going to waste, and the background may fall beyond the depth of field
Hyperfocal focusing enables you to focus at a specific point which makes both the foreground and the background look sharp.
The image may look blurred in the viewfinder when you do so, but this is because the image is always displayed at the lens’s largest or maximum aperture. Press the camera’s depth of field button to reveal the true picture.
Of course, to set the hyperfocal distance you’ll need a lens with a built-in distance scale.
If yours doesn’t, you can measure the distance using a tape measure or laser measuring tool, or estimate it using Live View and depth of field preview to ensure that details remain sharp.
Don’t… use apertures of f/22 or smaller
Taking pictures with the camera in Aperture Priority or Manual exposure mode enables you to manually set the aperture.
The choice of aperture is an important consideration when it comes to landscape photography, as this gives you more control over the depth of field.
Smaller apertures increase the depth of field and make more of a photo looking sharp — only up to a point, though.
It might sound counter-intuitive, but you should avoid the smallest apertures — represented by high f-numbers such as f/32, f/22 and f/16 on a typical wide-angle lens — even though these results in a large depth of field.
This is because the effects of diffraction are more noticeable at smaller apertures.
Diffraction is caused by light striking the edges of the aperture blades as it passes through the lens. This light rays are bent and dispersed, causing the image to appear softer.
Diffraction actually happens at all apertures, but the proportion of ‘bent’ light rays is greater at smaller apertures.
Read the full article over at Digital Camera World.
Source: Digital Camera World

