
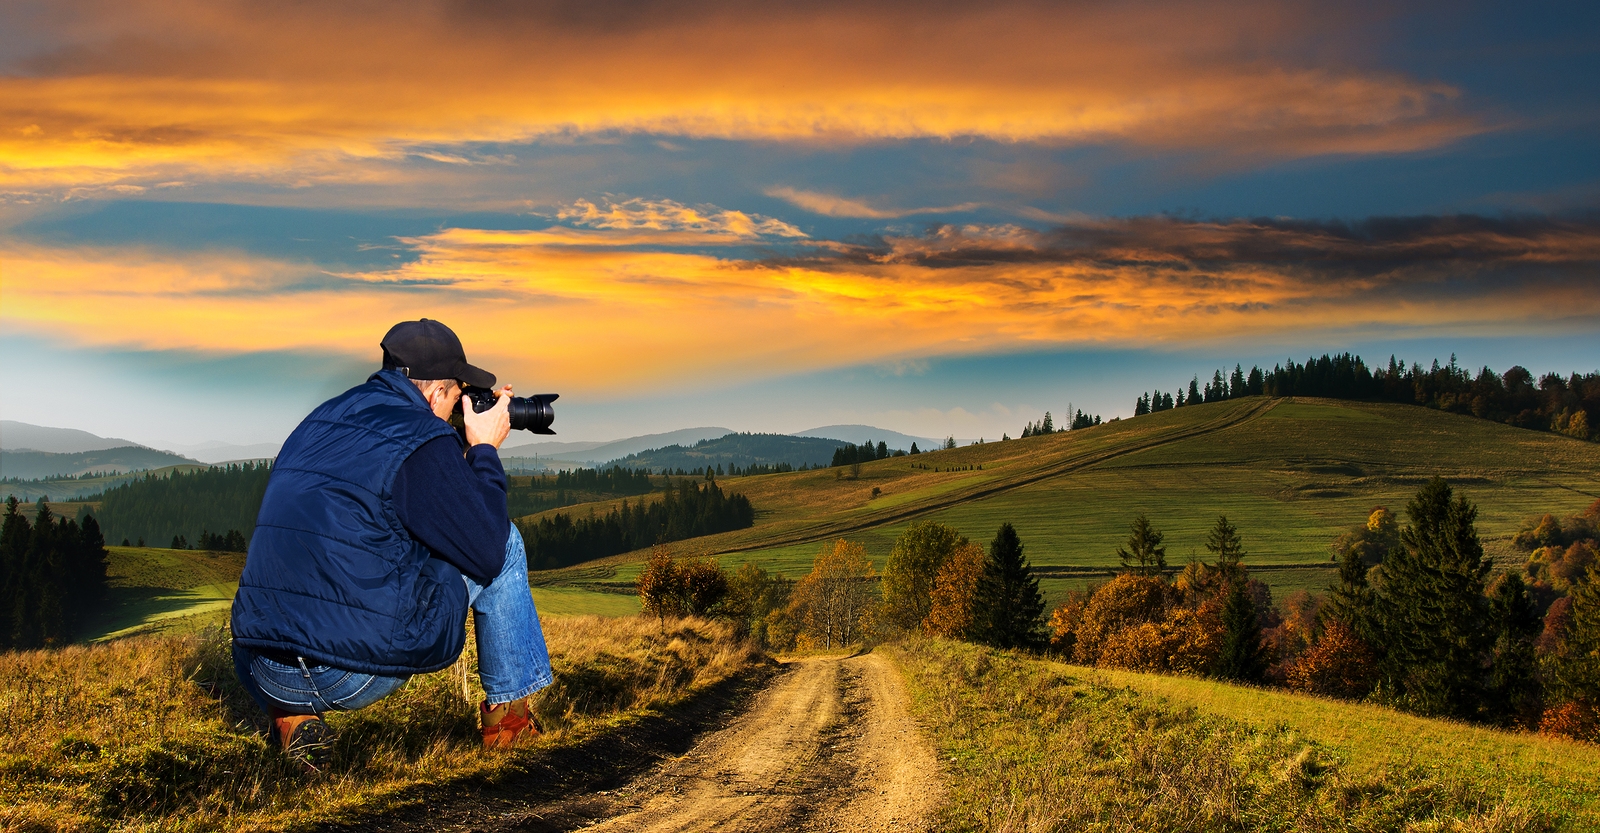
Professional photographer Max Foster specializes in landscape and cityscape images.
He shares his knowledge on a technique called focus stacking, which is a way to create more depth of field to your photos than you could with your lens alone. With his instructions you will be able to make your images pop out like never before.
When I began my journey into the photography world, I read as many instructional books as possible. These dealt with everything from exposure and composition to the minute technical details often overlooked. These books helped me learn quickly, but after being exposed to the latest work of many advanced photographers I realized that the books were also dated in some respects.
One of the most appealing attributes of landscape photographs is sharpness from front to back. Everything is in sharp focus in the foreground, middle and background, allowing the viewer to be pulled into the image as if they were standing right there.
The majority of the instructional books I read stated that this could be accomplished rather easily by stopping down to a very small aperture, such as f/22. Once stopped down, you then had a couple of options; you could either focus at a spot about 1/3 of the way into the scene, or you could determine your hyperfocal distance and focus at that spot. However, using a small aperture can decrease image quality due to diffraction while concurrently limiting depth of field. Even so, at the peak of film camera usage, these techniques were often the best options for maximizing sharpness throughout the frame. With today’s digital advances, we have additional and better options.
In this tutorial, I will show you how to use a technique called “Focus Stacking.” Although focus stacking can be utilized in several genres of photography, this tutorial will outline its usage in landscape/cityscape photography.
Recommended equipment
1. DSLR or MILC with Live-View
2. Lens that can be used in manual focus mode
3. Tripod
4. Remote shutter release
5. Circular Polarizer
6. Adobe Photoshop
7. Pen tabletWhen to Use
You will want to consider using a focus stack for any scene that may require more depth of field than your lens is capable of. I say “may require” because this is largely dependent on your interpretation of sharpness, and the lens aperture used in each situation may vary.
Some photographers require a higher level of sharpness to effectively print their images on a large scale. Additionally, lens aperture selection directly impacts the number of images in a focus stack. If you want to shoot at your lens’ sweet spot (typically about 3 stops down from wide open, such as f/8-f/11 for a f/4 maximum aperture lens), then you will need to closely examine your focus stacked images to ensure your depth of field is large enough and overlaps with each subsequent frame. A best practice here is to take a couple extra frames with additional focus points to ensure you will cover the entire depth of field.
A couple scenes that would benefit from this include a foreground that is close to the camera and a background a considerable length away or a telephoto shot with many elements in the frame, each at different distances from the camera.
Scene Characteristics
As noted above, focus stacking can be used in your typical near-far compositions to extend depth of field. However, I also like to break things down into the following categories to help determine the number of frames required and the specific settings used for capture:
1. Subject matter that remains in a constant position
2. Subject matter that moves slightly
3. Closeness to first subjectAs you might guess, subject matter that does not move (1) is much easier to capture and assemble into a focus stack. However, it is still possible to stack an image that has moving objects (2). Additionally, the closeness to the first foreground subject will influence the number of shots required to maintain full depth of field (3). I will address these more in the next section.
Read the full article over at 500px ISO.
Source: 500px ISO