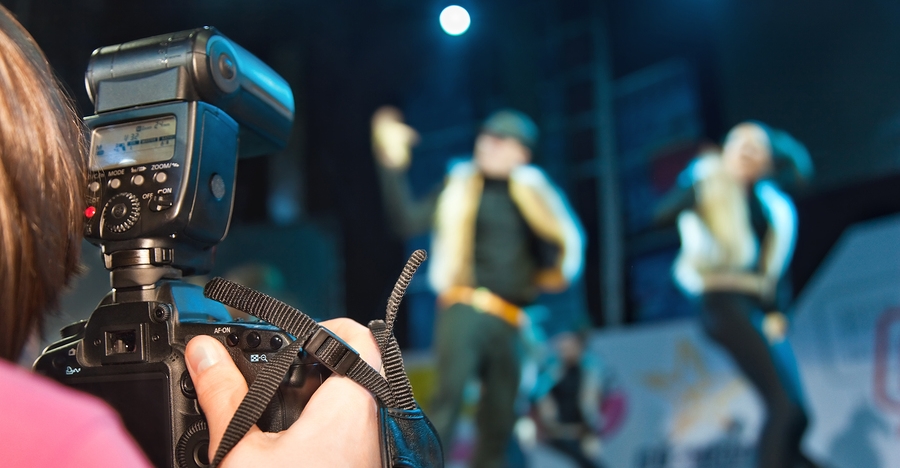
Mark Morris is offering us his best advice for concert photography over at Improve Photography.
If you’re able to get in touch with other concert photographers, it’s a big bonus. Many of them will be happy to help you out and give you their best tips on how they achieve great results.
GET THE RIGHT LENSES FOR THE JOB
In virtually every concert setting, one of the most challenging factors is the amount of light you will be working with. Most of the time flash is completely prohibited, so you need to be prepared to gather as much light as possible with fast glass. The lenses I always take for concert photography are my Canon 24-70 2.8, Canon 70-200 2.8, and I actually also usually pack my 100mm 2.8L Macro. A couple of weeks ago I was fortunate enough to get a press pass to photograph my favorite band (Phish,) and for that show, I also rented a 16-35 2.8 on the advice of Nick Page. There were only four press passes issued for the show, so we had enough room in the photographers to set out our lenses. One of the other guys noticed my 16-35, and I noticed his 15mm fisheye, so we traded. The next time I head out to a big rock show from the pit, I will definitely take both the 16-35 AND the fisheye.
TRY TO GET ACCESS TO REHEARSALS
During rehearsals, it is sometimes possible to arrange access directly to the stage. With proper lighting and angles, you can often take superb images of a performer, and it will appear as though they are in performance, even when they are not. The photo above was taken during a run-through just prior to the actual concert. This particular student was located in the middle of the stage, where there is no possible way to get a good photograph of them performing during the a concert. Having access to the stage let me set up this shot. There was a student directly in front of him, who’s back was in the original shot. Content Aware fill in Photoshop instantly removed the shoulder and music stand that were in the shot, and even extended the bow to fill the empty space. That minor edit which took only 10 seconds in Photoshop made a vastly stronger image.
DON’T THROW AWAY OVER-SATURATED PHOTOS FROM STRONG CONCERT LIGHTING
Stage lighting can be extremely aggressive and hard to deal with in terms of producing a visually pleasing image. In the image above, you can see how saturated and over-done the blue was from the stage lighting. But rather than consider the photo as useless, it is extremely usable as a black and white image. Another possibility is to go into the HSL layer, and just pull down the blues until they are less overwhelming. The saturation can be pulled down as well. The greatest word of advice, though, is to use the incredible power of post-processing to bring back images that might at first glance appear to be “throw aways.”
DON’T AUTOMATICALLY OPT FOR YOUR MOST OPEN APERTURE!
One thing I immediately learned when Phish started their performance is that a big-time rock band has a LOT of lights. I was taking photos of the stage prior to the concert, and I was set at ISO 8,000, f2.8, and could get down to 1/200th of a second. As soon as the band took the stage, and the light show started, I was instantly blowing everything out. I had spoken to the house photographer, and he had shot the night before, and he warned me ahead of time that he ended up at ISO 1250. So, as soon as the concert started, I immediately went to his setting. It really paid off. Another concert photographer I had spoken to offered the advice to never open up as wide as possible. His reasoning was that you need at least some depth of field in order to allow for the subtle movement of musicians, and you want the guitar players’ hands AND faces in focus, and at 2.8 or lower, the depth of field could be so shallow that you would have one sharp, but the other starting to be out of focus. Although the stage light adjusted quickly and wildly, while set at ISO 1250, I could leave my aperture at 4.5, and still have a relatively fast shutter speed.
TURN YOUR BLINKIES ON!
This advice came from Nick Page. I have to give a shout-out to Nick for all the help he gave me before I went to this shoot. He answered a number of questions on the Improve Photography Facebook Group, but then he answered even more when I reached out with some additional questions on settings. All of his tips were amazing, but I think the one that I appreciated the most was to turn on the “blinkies,” so that you can see blown out highlights when looking at an image on the back of the camera. The goal here is to expose so that just the very slightest areas of extreme lighting are blown out, but the overwhelming majority of the lighting is not. This works out wonderfully, because your camera is actually showing you a mini jpg of the photo on the LCD screen. There is less dynamic range there, so those tiny bits of over-saturation will be just fine in your RAW file. We all shoot RAW, correct? Yes… of course we do!
Read the full article with even more tips over at Improve Photography.
Source: Improve Photography

