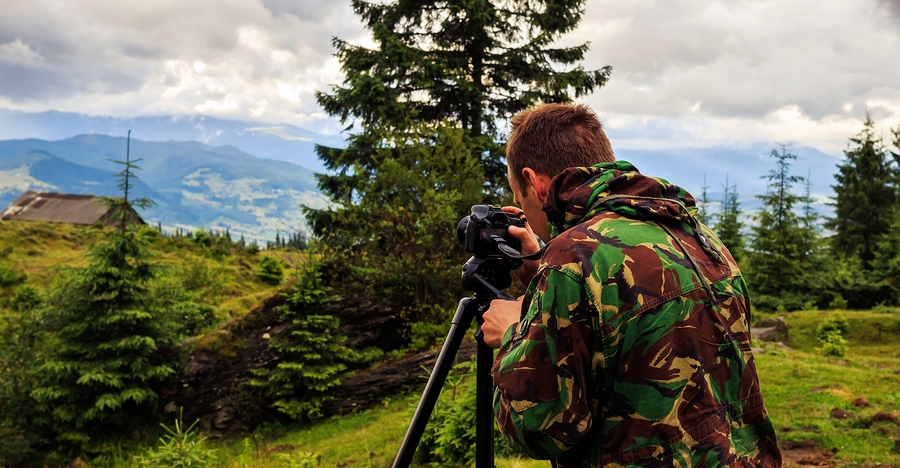
I could have lived with the composition of those images, although there was lots of room for improvement.
What bothered me the most was how everything looked so washed out. What was a beautiful, vibrant, colorful place in real life, looked completely dull and uninviting in the photo. Well, if I had done some research before rushing into things, I would have known that there are several different kinds of filters that will immediately improve your landscape image. All those hours of trying to post-process the images… wasted. At least I’ve learned from my beginner mistakes and know better now! Suzi Pratt over at Digital Photography School explains some of the most common landscape filters so you can choose the best one for your work.
What is a polarizing filter?
The next filter we’ll discuss is the polarizing (usually circular) filter, which attaches to the front of a lens and can be spun around to produce varying degrees of saturation throughout an image. This quality of the polarizing filter is important to pay attention to, because it’s easy to produce uneven shades of saturation if the polarizer is even slightly off.
Polarizing filters do two things: first, they help reduce glare or reflections cast by non-metallic reflective surfaces such as glass or water. Second, they saturates colors and enhances image clarity by reducing the overall exposure of an image. The benefits of the polarizing filters are best seen when you are shooting at a 90-degree angle to the sun.
What is a neutral density filter?
Another effective filter for landscape photography is a neutral density (ND) filter, which reduces the overall exposure of an image. ND filters are uniformly dark in color and they come in different strengths depending on density.
The best use of ND filters is in situations where you wish to use a long exposure or wide aperture to capture an image, without risking overexposure. Some example scenarios when a ND filter would be effective include:
- Producing a smooth, blurred movement of water in a waterfall, lake, or the sea.
- Blurring moving subjects to convey movement or motion (such as panning).
- Reducing diffraction by using a large aperture.
- Shooting with a shallow depth of field in bright lighting.
What is a graduated neutral density filter?
The top half of the filter appears dark, while the bottom half is clear. Similar to the circular polarizer, the graduated ND filter can also be spun around to produce varying degrees of saturation, so it’s important to be careful when using it to avoid unevenly saturating your image.
The best scenarios for a graduated ND filter to shine are when you wish to reduce light, or darken just part of your image. Think landscape photos where the earth is balanced, but the sky is blown out. This would be an ideal time to use a graduated ND filter to darken the sky.
Read the full article over at Digital Photography School.
Source: Digital Photography School

