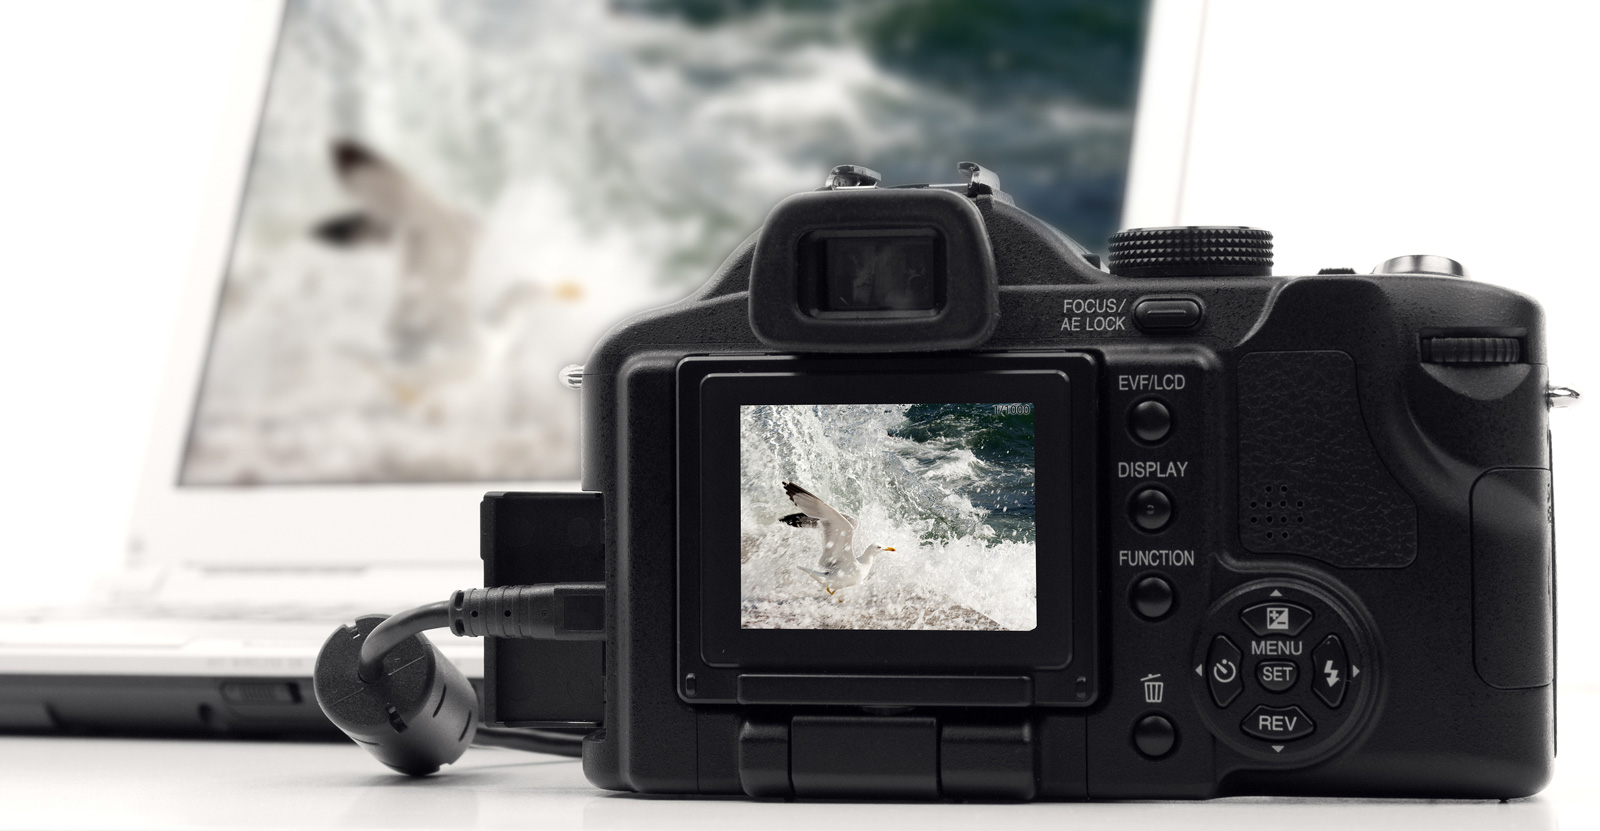
Don’s Photo is explaining the process of calibrating your camera.
It may sound like it’s difficult, but it’s actually a very simple procedure that you can easily do yourself. By following these instructions you’ll make sure your focusing problems are history – and you can brag about how real pros can fix their cameras by themselves!
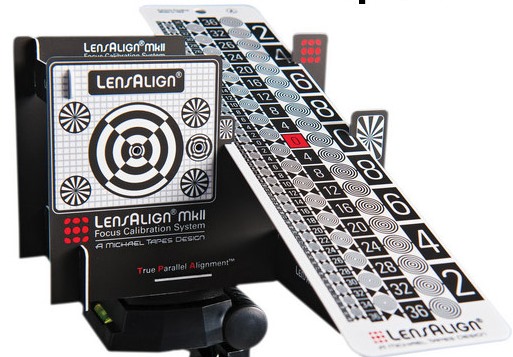
- Set up the LensAlign tool on a light stand approximately the same distance that would be if you were using that lens.
- You will either need two tripods or a tripod and a lightstand.
- Mount your camera on another tripod and properly level it. Using the levelling method that LensAlign developed, levelling your camera is easy – you just align the red dots on the back of LensAlign with the holes on the front, so that it looks like this:
- Place your camera at a certain distance, depending on the focal length of the lens. LensAlign has a Distance Tool on his website that you can use to calculate the proper distance. Most of the time we don’t use distance tools, they use the distance they typically shoot their lens at. This is important
- Set the AF adjustment on your camera to “0” or just turn it off. We will need to start from zero initially and go from there.
- Focus on the circular pattern on the left side of the ruler with your center focus point looking through the viewfinder and take a series of pictures. In between each exposure, you should readjust the focus ring, so that everything looks blurry before you start. That way, you force the AF system to reacquire focus each time.
- Do this at least 3 times, then analyze each image on your camera. If you choose to do it on your camera, zoom in to 100%, then flip from photo to photo. This is what a badly calibrated lens looks like (and for years what many of my photos looked like…):There are some serious issues with autofocus with this lens. The left side is out of focus and the right side shows that it is back focusing. Instead of showing 0 in focus, it is far off somewhere at 12 in the middle section of the ruler.
- Now you turn on AF Fine Tune / Micro adjustment on and set a negative value to compensate for the back focusing problem.
- After dialling up a negative number to correct the back focusing (and then some positive numbers because we over compensated) the left side of the LensAlign tool is in focus. The ruler on the right side confirms this – the focus point is right number 0.
Read more about the process at Don’s Photo.
Source: Don’s Photo
Pages: 1 2


