
Jeff Meyer has put together a great tutorial for anyone interested in taking long exposures of the sea.
It’s not all just about the right shutter speed, although that’s what you need to control to get that nice, blurry effect of the water. But make sure you will also learn the other important factors!
Timing is key to shooting great seascapes. You need to be there at the right time of day, but just as important is the timing of the exposure. For a raging, stormy sea, a fast shutter speed can be appropriate, but with calmer waters, the best approach is to take it slow. Very slow.
In this long exposure photography tutorial we’ll show you how to take control of your camera to take long exposure shots of the sea you can be proud of.
Shutter speeds that are seconds long turn even the gentlest waters into a smooth, silky blur, and the expanse of water takes on a milky white appearance that contrasts with the static rocks (find out some of the common mistakes at every shutter speed – and the best settings to use).
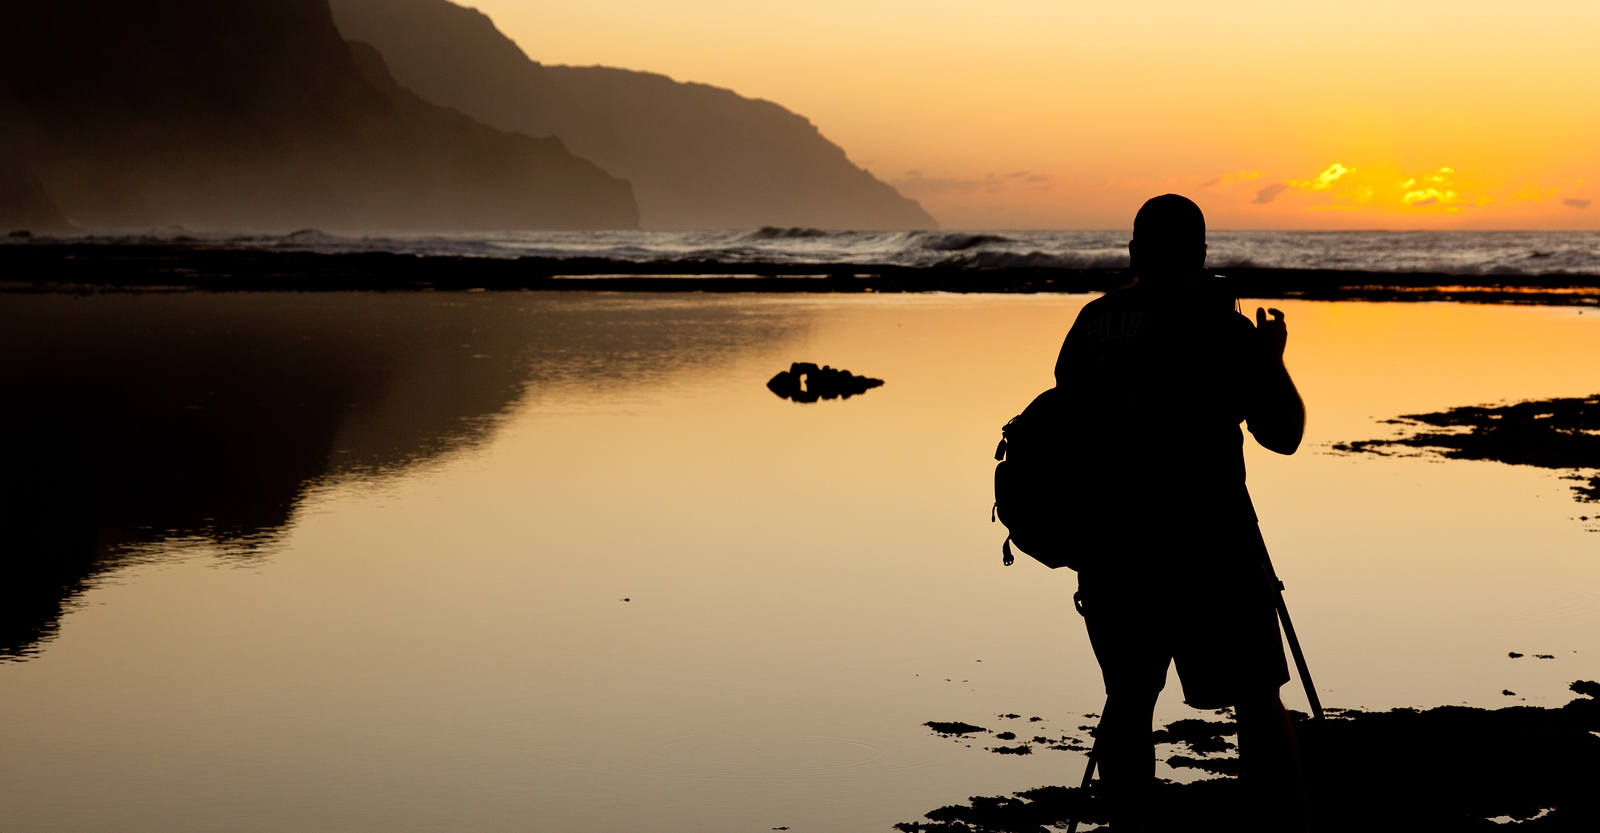
All landscapes will tend to look their best if you get up at first light, or stay out until dusk. But these dimmer parts of the day are particularly appropriate for milky seascapes, and the low light will give you longer exposures than shooting in the middle of the day.
Pick your location
Ideally you need somewhere where you can get down near the water as it breaks over the shore. You also need the sun to be low in the sky so it picks out the rocks. For all this information, try a program or app that lets you work out the best time, date and spot to head to. LightTrac, which costs £2.99 for iPad, iPhone and Android phones, is a good choice.Watch the tide
It’s no good just turning up at dusk or dawn – you need to check the tides. As a rule, these shots look better if the tide is going out because this ensures that the wet rocks glisten, but you also need the water to be high enough to break against your chosen rocks. UK photographers can visit bbc.in/tide-tables to check the tides online.Find your foreground
When you get to the location, you need to find the best camera angle, and it’s often best to hunt this out without your tripod. You need to find a focal point, such as a headland or lighthouse, as well as a good foreground – getting low helps you make rocks look big in the frame.
WE HAVE A BONUS TIP FOR YOU! Click here to see it.
Read the full article over at Digital Camera World.
Source: Digital Camera World