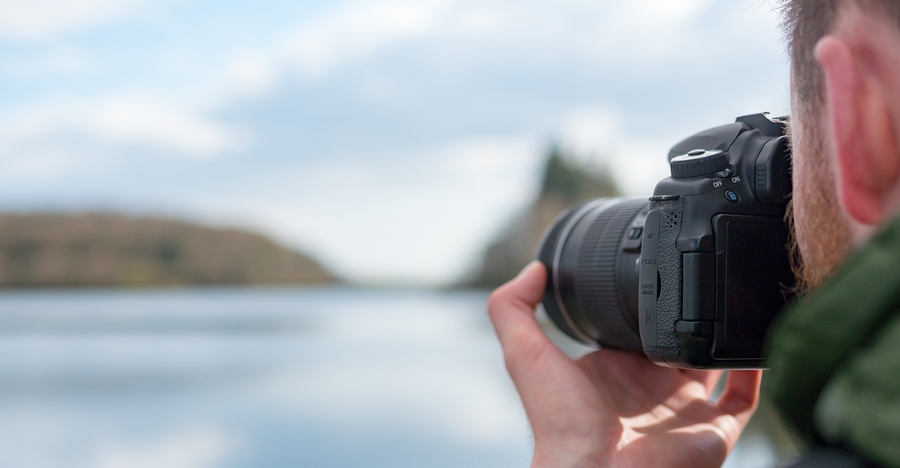
Professional photographer Gary Hart gives you these 6 great tips on how to use selective focus for landscape images.
When we think of selective focus and a shallow depth of field, we often first think of portrait or wedding photography. However, selective focus can be used to make beautiful landscape photography – out-of-the-ordinary images that are just as gorgeous as the more traditional ones.
Managing Depth of Field
The anchor of a creative selective focus image is a tack-sharp subject. The subject’s background blur ranges from soft, but easily recognizable to impossible to distinguish color, lines or shapes. Where your image’s background blur falls on this continuum is your choice.
Your depth of field will be shallower and your background more blurred:
• the closer your focus point
• the longer your focal length
• the larger your apertureWhich and how many of these variables you employ are determined by your creative vision.
Lens Considerations
Because depth of field shrinks with focus distance and focal length, macro and telephoto lenses are great for limiting it. But any lens, at any focal length, when focused near its closest focus distance, can soften the background. For example, I have great fun filling my frame with a single flower or leaf by focusing a wide-angle lens just inches away, and while it’s difficult to blur a background beyond recognition with a wide-angle lens, you can soften it enough that the sharpness of your subject stands out boldly in contrast. You can further reduce your depth of field, regardless of the lens (without breaking the bank), with an extension tube.
The Camera
There are camera considerations, as well. A DSLR viewfinder won’t display your scene’s depth by default. If you’re not using your DSLR’s widest aperture, you must use its depth-of-field preview button to see the depth as it will be recorded, but the darkened view can make it difficult to see.
One solution is your live-view screen, which will show you the scene as it will be photographed, but LCDs can be washed out and difficult to view in bright sunlight. While I used DSLRs for my creative selective focus images for years, and certainly valued the addition of live view, I’ve come to appreciate how well my mirrorless camera’s (electronic) viewfinder shows my image exactly as my camera will capture it, without being affected by ambient light.
Don’t Forget the Tripod
Let’s not overlook the importance of a solid tripod. In general, the thinner the area of sharpness in an image, the more essential it is to nail the focus point. Even if you’re shooting at shutter speeds fast enough to eliminate camera shake, the unavoidable micro-millimeter shifts possible while handholding can shift the focus point enough to make the difference between a brilliant success and an absolute failure.
Choosing the Foreground/Background Combination
Composing a creative selective focus image usually starts with finding a foreground subject on which to focus, then positioning your camera so your subject stands out against a complementary background. Of course, you can do this in reverse, too—if you see a background you think would look great blurred, find a foreground subject that would stand out against that background.
Stick to the Subject
As the anchor of your frame, it’s generally best if your subject possesses an inherent appeal that you can further emphasize with your composition. For example, a poppy probably (but not necessarily) will work better than a dandelion.
Background Check
A strong foreground subject can appear even more striking when juxtaposed against a homogenous dark or complementary-colored background. On the other hand, when I want a background with soft, but distinct detail, I look for things like parallel tree trunks, splashes of sunlit leaves or flowers in an otherwise shaded forest, pinpoint jewels of daylight shining through the trees, flowers or leaves that blur to color and soft shapes, or sunlight sparkling on water. Most scenes offer an array of options.
Read the full article over at Outdoor Photographer.
Source: Outdoor Photographer

