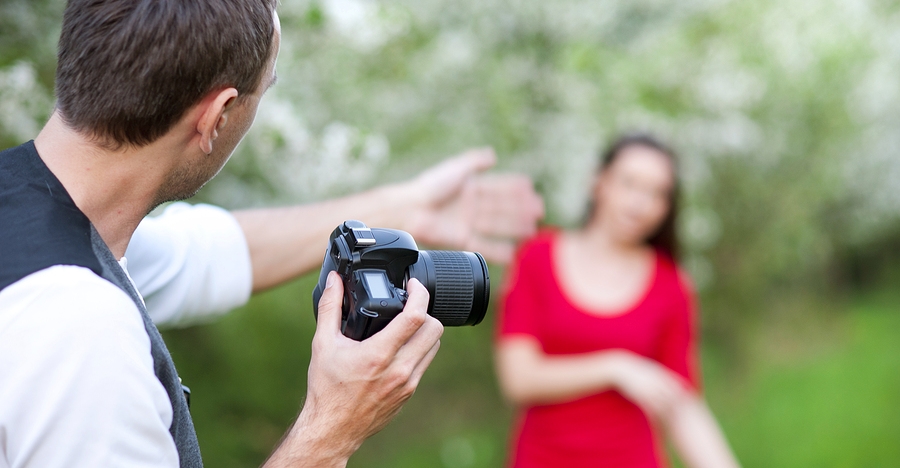
This article over at Digital Photography School mentions some great ways to create a complementing background that will make your subject pop out.
They are easy to learn and with a short practice you’ll be able to use these tips wherever your photoshoot is located. If you don’t believe me, go ahead and try it!
Location, Location, Location
If you have the option, do try and choose a location that has a nice background – that will make it as easy as it can get. What defines a nice background will depend on your subject, but as a very general guide, look for a spot that has a uniform look to it. Brick walls, corrugated iron roller doors, metal cladding on walls, or even something as simple as a painted white wall, can all make for a nice clean background. Ultimately,what you are notlooking for is something that has a lot of other elements in the frame, that do not add to your subject.
If you cannot find a location that has a clean background, looking for somewhere where the background complements – or works with – your subject will also work, too. An example of this would be with sport photography. You simply cannot decide where the game will be played, so you have to work with what you have. In this situation, think about what would look good as a background. Would a stand full of supporters look better than a car park full of cars or a building site? I think it would. The stand full of supports, while not clean, works with your subjects and in fact, has more impact as the supporters add a nice element of atmosphere to the image.
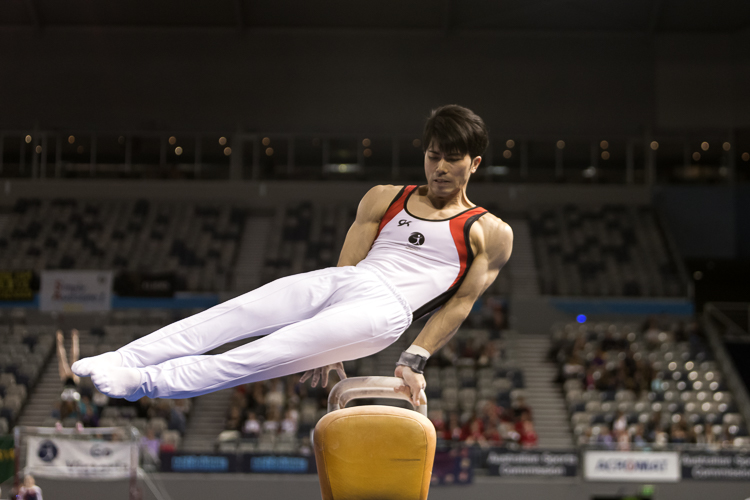
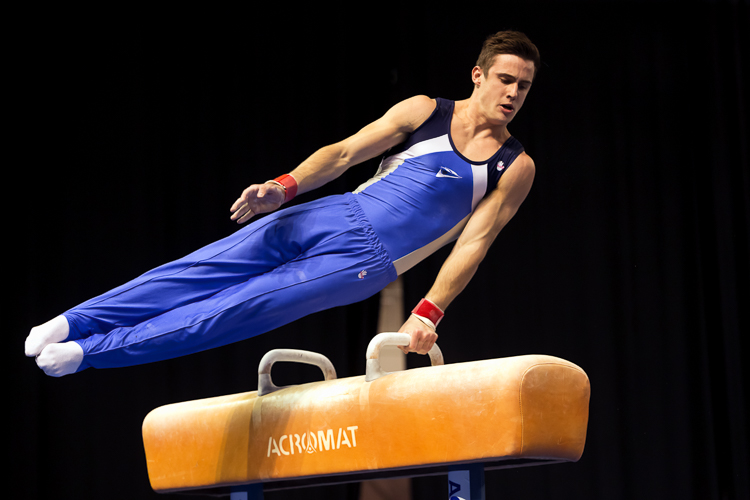
Even though this image has the stadium in the background, it is a little cluttered. The seats are mostly empty, so it’s not really portraying any sense of atmosphere in the sport.By changing my position, I was able to use a the large black cloth in the background to make the athlete stand out much more. Nothing more than moving was required; much easier.
Camera Craft
There will be times – more often than not – where you simply cannot win with your background. No matter which way you stand, you just can’t seem to find a nice clean backdrop. What now? Here’s where a little camera craft comes in to play and you have a couple of tricks up your sleeve with this.
First point of call is aperture. You know that you can simply open your aperture up a little more, and give that background some nice bokeh (or blur) to reduce its impact. Even when you do have a nice complementary background, it’s still a good idea to use a wider aperture to blur it out a bit and make your subject stand out against it more.
What if you can’t open your aperture any further, though? There’s still hope. Our next strategy is to play with shutter speed and use a panning technique. This can help greatly in rendering a busy background into a nice blurry mess. It also helps to add a great sense of movement and action, as well as give a sense of excitement to an image. In a nutshell, panning is the technique of using a slower shutter speed (usually around 1/60th or slower) while tracking a moving subject. The combination of a slow shutter speed, coupled with the panning action, will result in a nice motion blur affecting the background, and if done correctly, the subject will remain sharp.
Can You See the Light?
Something that seems to always be overlooked in photography is light. This seems to me like quite a remarkable thing since without light, we don’t have much of a photo. But using light, and the contrast it can provide, is another way to reduce the appearance of a distracting background. With this strategy you need to look for a higher amount of contrast between your subject and the background; that is, you’re subject is (ideally) brighter than the background. By exposing for your subject (the brightest area) you effectively make shadowed areas in the frame darker, thereby affecting your background. This can be achieved with both natural light and flash.