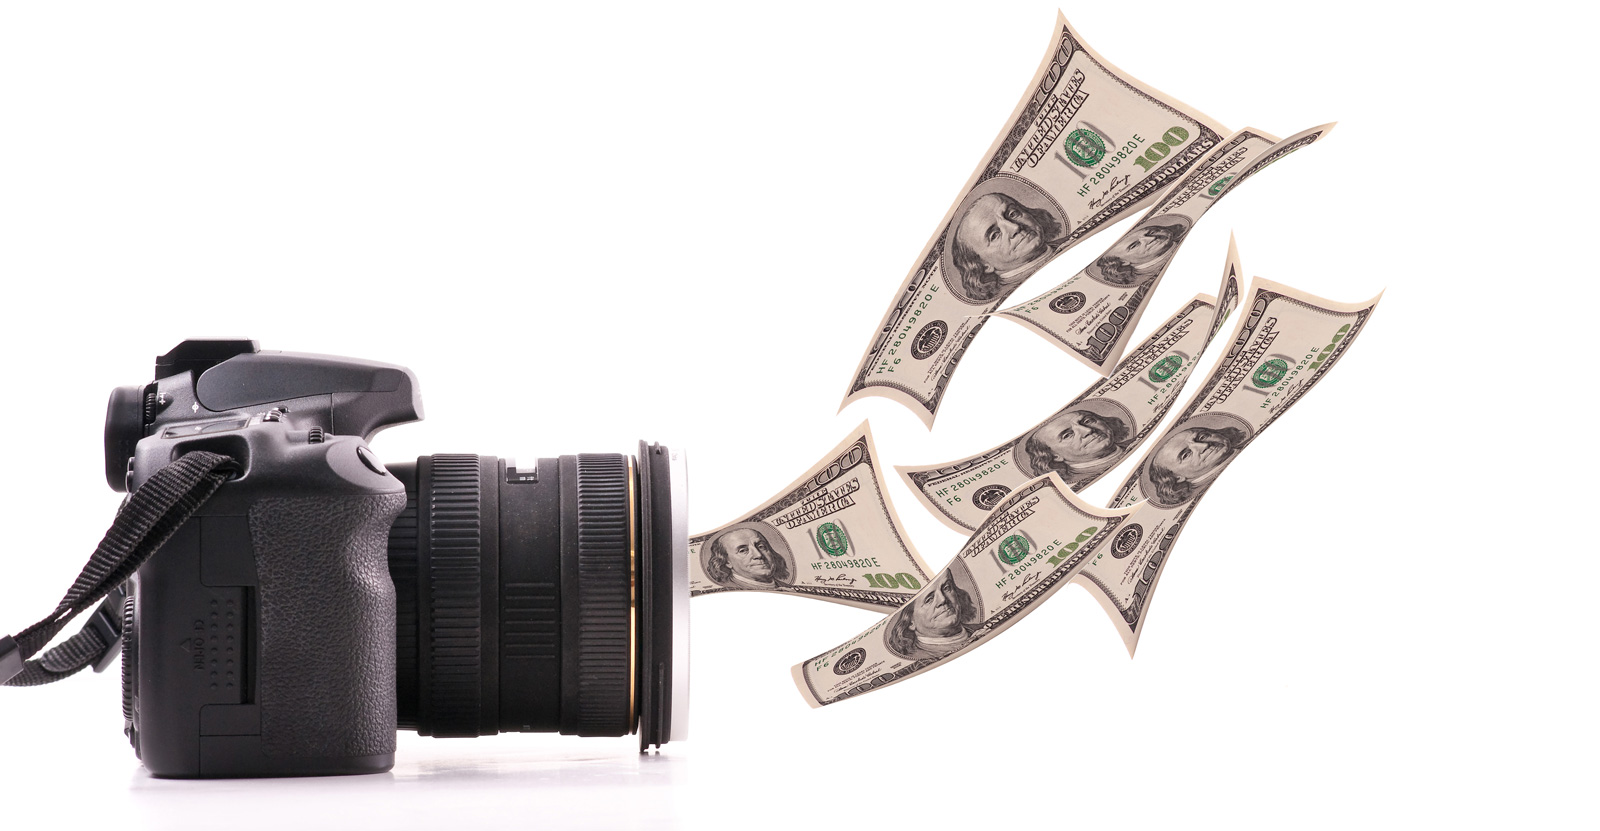
You can save hundreds, or even thousands of dollars with these tips.
This article at Improve Photography explains how choosing your gear wisely can save you a lot of money – without having to compromise on quality. Some of these inexpensive options will even give you better results than the most expensive ones! How much did you pay for your flash?
SPEEDLIGHT FLASHES
Amount I saved: $350 per flash (and I have four flashes!)
Improve Photography has–for five years–recommended Yongnuo flashes instead of the far more expensive Canon/Nikon flashes. When I do our completely free photography workshops around the world, I often look around and see only Yongnuo flashes amongst the participants who read the site frequently.
Yongnuo makes very inexpensive speedlights for about $70. They are built well, reliable, and cheap enough you can buy two. If you’re just starting today, I’d pick up a YN-560 IV but check out my flash recommendations page here.
The flashes that I like from Yongnuo are the all-manual flashes. They are very simple to use. If you take a picture and the flash is too bright, you simply turn the flash down. Too dim? Turn it up. It’s that simple. But they also make high speed sync and ttl flashes for about $150, which are comparable to the $650 Canon/Nikon flashes.
THE CAMRANGER
Savings: About $260
The CamRanger is a pretty popular device that allows more advanced photographers to add functionality to their cameras to show the photos on an iPad, do intervalometers, wi-fi tethering, and lots of other cool features. We gave the CamRanger high marks in our review, but if you want similar functionality for a tiny fraction of the cost, read on.
However, you can make a device very similar to a CamRanger for next to nothing. The CamRanger is basically just a cheap TP-Link 3040 router with special firmware installed. The only significant limitation of this method is that you have to use a Canon camera and an Android device. But you could get a Nexus tablet AND this router for far less than the cost of the CamRanger. Read our full CamRanger review for more details on this hack.
LENSES
I often see photographers with 6 or 7 lenses, some better than others, but none which are professional grade. Because pro lenses are soooo expensive, they buy one cheap one, then another cheap one, and then repeat. I often do the math in my head and see that if they would have waited to save up, they could have had an excellent lens.
Personally, I rarely find the need to use a lens other than a wide angle, a 24-70, or a 70-200. Three lenses that work like clockwork. The trouble is these lenses are about $2,000 each.
Fortunately, Tamron has stepped up its quality significantly in the last couple years. You can get a lens that is 95% as good as the Canon or Nikon trinity of lenses for half the cost. I highly recommend the Tamron 70-200 for those of you who are looking for the ultimate portrait lens. For all you Canonistas, be sure to check out my article on the 8 best inexpensive Canon lenses, too.
But don’t wait around for lenses to go on sale. Lenses from the major manufacturers rarely go on sale, and the sales are usually somewhat small.
PRINTS
Amount I saved: $32 for a small order
One of our most popular articles is a review I did of the most popular print labs. I ordered prints from 11 popular labs and compared them on price, shipping speed, customer service, and print quality. The–very surprising–result of that test was that the most expensive lab produced the worst quality print in a blind test, and the cheapest lab produced the highest quality test. Snapfish and Shutterfly, which are both popular online print labs, received pathetic results in the test for both print quality and pricing.
Our favorite print lab was Pro DPI (and no, they don’t pay me to say that). Their costs were extremely low, they shipped very fast, and they were the very cheapest for the order we placed which included several prints of different sizes.
Read more tips on the original article here.
Source: Improve Photography

