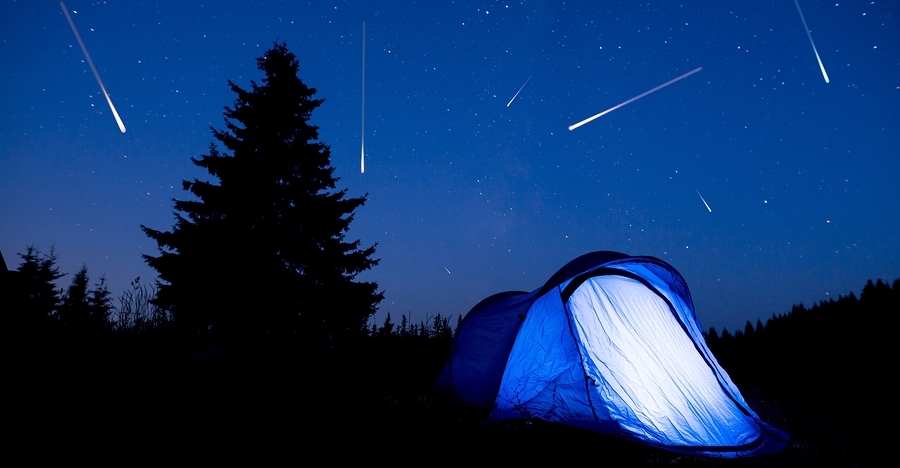
When we’re talking about astrophotography and shooting stars in the night sky, this of course means long exposures.
You’re going to need a steady tripod, preferably a fast wide-angle lens (f/2.8 is great, f/1.4 is excellent) and a remote shutter release as you’re going to take pictures with 20sec exposure time. Remember that you’re going to be there for quite a while so you should bring something to eat and drink as well. These tips will get you started.
LOCATION AND TIME: Head out to the site where you will shoot. You will have already scouted this site during the day for compositions, accessibility, safety, and obstructions. Plan to arrive before it’s fully dark. You can shoot sunset and then the Blue Hour into darkness, when you will switch to meteor photography settings. Sunset on August 12 is at 7:15pm, so depending on your latitude, full darkness (end of astronomical twilight) will be around 10:00pm, plus or minus.
COMPOSITION: Decide on your composition. Ideally, you will have an interesting foreground to complement the sky, but the sky needs to be the majority of your image because that’s where the action is. When deciding this, the most important consideration for this is the direction you face. You want to point the lens either side of the meteor shower radiant. The radiant is the emanation point of the meteors.
SETUP AND FOCUS: Now that you have decided on your composition, set up your tripod and camera. Attach the remote shutter release or intervalometer. Now it’s time to focus.
The goal is to establish ‘infinity focus’. Infinity means that your subject of focus is beyond the hyperfocal distance, which depends on your focal length and aperture. Don’t worry too much about this if you’re not familiar, just make sure that your composition does not include anything closer than, say, 30 feet. That’s a good ballpark figure. If there is a tree or a bush closer than that, chances are it will be out of focus. Beyond that distance, however, is infinity, and that will all be sharp. Most important is that the stars are sharp!
Take a short piece of gaffer tape (1-2 inches) and gently place it on the lens where the focus ring meets the fixed barrel of the lens. This will secure it from tiny movements due to temperature change, brushing up against the lens accidentally, etc. Remember this – you don’t need to refocus unless you change your focal length (e.g., 20mm to 24mm). Even if you recompose, if you stay at the same focal length, your focus is still good.
SHOOT: Once full darkness has arrived, it’s time to start shooting. At your widest aperture (e.g., f/1.4, f/2.8), set your shutter speed at 20 seconds and your ISO at 100. Take a test shot. It will probably be way too dark (remember to check the histogram for the most accurate information). This is where the ISO plays its role – increase to 1200 and take another test shot. Too dark? Keep increasing the ISO until you get a good exposure. It may have to go as high as 3200 or 6400.
Now that you have figured out your settings and set them, take a couple of test shots. Make any necessary adjustments, and then lock down the remote shutter release (push the button forward where it will stay).
Read the full article with even more tips over at Bryan Peterson School of Photography.

