
Are you tired of spending an inordinate time processing your landscapes in Photoshop and Lightroom just to find you’re still unhappy with your image? Try out this quick tutorial and give your image that Black and White WOW factor.
I’ll be trying this out on a few images I have from a vacation in Alaska. I’ll post some of those later this week.Feel free to post your images here as well.
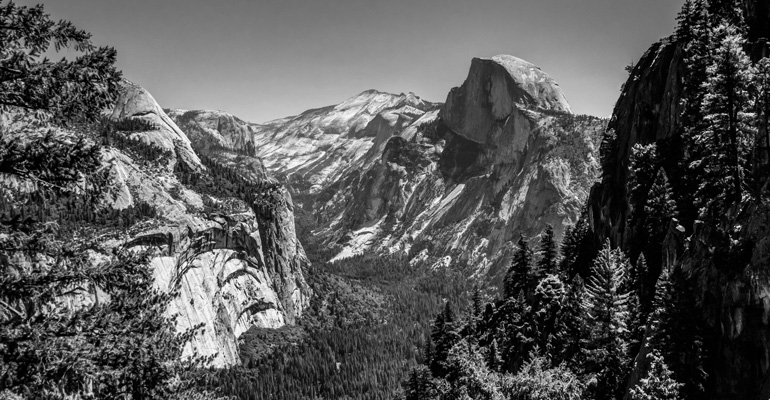
When we talk about great landscape photographers, Ansel Adams has to be the first name on the list. His starkly beautiful images of the American wilderness displayed flawless technique and a uniquely crafted vision.
Most of his work made use of monochrome film; lens-mounted filters (usually yellow or red) to emphasise skies; and darkroom techniques that added contrast and controlled detail.
All of these great effects are simple to recreate. The first step is to convert our image to mono. Some methods for this are better than others. The best tools give you control over the brightness of individual colour ranges in the image during the mono conversion.
One such tool is the HSL panel in Camera Raw. Just as Adams used filters, we can use HSL to control colour brightness for a dramatic sky. Our technique differs slightly from the normal approach to Camera Raw mono, in that we’ll use HSL’s saturation sliders for greater control.
In the zone
Adams’ prints were painstakingly crafted using his Zone System to ensure the best gradation of tones. Similarly, we can use Photoshop tonal tools to ensure we have rich shadows and delicately detailed highlights. Adams wasn’t adverse to a little dodging and burning, despite his emphasis on ‘pure’ photography, so we’ll follow suit.
Source: Digital Camera World
Image source: Todd Petrie
Photoshop is on my list.