I found a really great article about aperture over at Photography Talk. It was actually one of their most popular articles.
This article discusses both shallow depth of field for blurry backgrounds and, large depth of field for sharper backgrounds. It is really one of the most complex things for the new photographer to wrap their head around.
Depth of field is the range within an image that is in sharp focus. But simplistic definitions aside, there is a volume of considerations that go into determining depth of field and using it to enhance your images.
Blurry background indicates that a shallow depth of field was used. Shallow depth of field is a technique often used in portraits because it produces nice bokeh effects (the blurry circle shapes in the background created by a wide aperture) that helps draw attention to the primary subject.

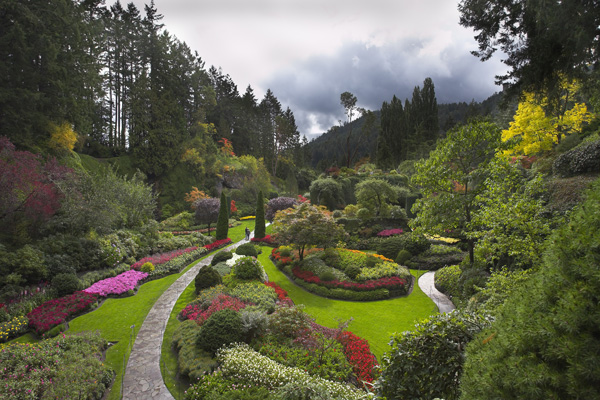
Conversely, landscape images tend to benefit from a large depth of field.

Notice how everything in the scene above is in sharp focus. This helps our eyes move through the scene, from the rocks in the foreground to the river in the middle to the hills and trees in the background. A large depth of field thus facilitates greater movement of the viewer’s eye such that they can soak up all there is to see in the scene.
Depth of field can be as little as a few millimeters, as is often the case in macro photography, or it can be a few miles, as is often the case when shooting landscapes. Nevertheless, the term depth of field refers to that area – however large or small – that is in sharp focus.
There are several critical components that go into determining how deep or shallow depth of field will be.
Factor #1: Aperture
The aperture of your camera refers to the size of the hole through which light enters your camera’s lens. The larger the aperture opening, the more light that’s allowed in; the smaller the aperture opening, the less light your lens will be able to collect.
Aperture is denoted using f-stops, which, for beginners is a bit confusing because f-stops are inversely related to the size of the aperture, like so:
Large f-stop number = small aperture
Small f-stop number = large aperture

So, examining the chart above, at f/4 (a small f-stop number) you have a large aperture opening. At f/22 (a large f-stop number) you have a small aperture opening. This can be extraordinarily confusing at first for a beginner to remember, so try thinking of f-stops like fractions:
F/4 would be converted to 1/4; F/22 would be converted to 1/22. Which is bigger? Obviously, 1/4 is bigger than 1/22, so f/4 represents a larger aperture opening than f/22.
Now, the lower the f-stop, the shallower the depth of field. When shooting a portrait, a photographer might use f/2.8, for example. Conversely, when photographing a landscape, a photographer might use f/16 because the higher the f-stop, the larger the depth of field.
In short: The smaller the f-stop, the shallower the depth of field. Move towards larger f-stops to increase your depth of field.
Factor #2: Distance
There are two distance elements that factor into depth of field: the distance from the camera to the subject and the distance between the subject and the background.
The closer your camera is to the subject, the shallower the depth of field.
Consider this:
At a distance of 10 feet, an aperture of f/4 will result in a shallow depth of field with a blurry background. But that same aperture of f/4 at a distance of half a mile will result in a comparatively large depth of field.

The second distance factor at play here is the distance between the subject and the background. In this case, the farther the subject is from the background, the more blurred it will be.
In short: The shorter the distance between you and your subject, the shallower the depth of field. Additionally, the further your subject is from the background, the shallower the depth of field.
Factor #3: Focal Length

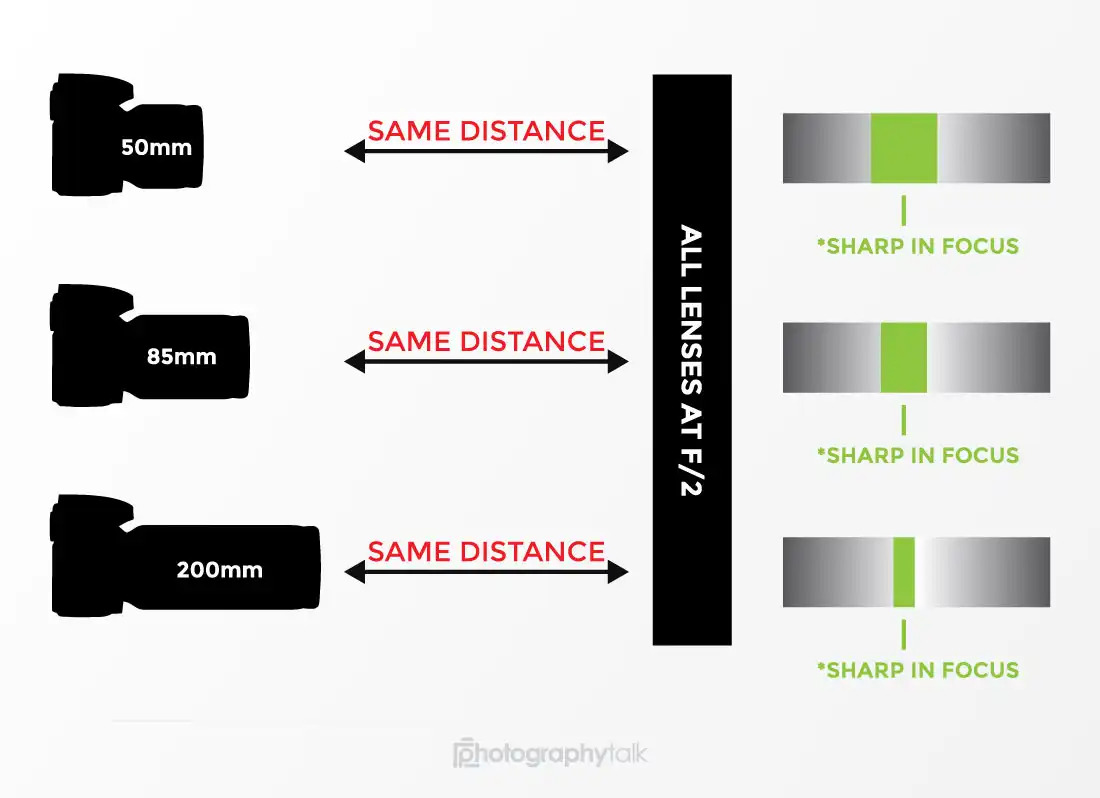
Focal length refers to the size of your camera’s lens and its ability to magnify a subject. Basically, the longer your lens, the shallower the depth of field will be.
For example, if you’ve got an 18-200mm zoom lens, the depth of field at 18mm at f/4 will be much greater than it would be at 200mm at the same f/4 aperture.
In short: The longer your lens, the shallower the depth of field. To maximize depth of field, use a shorter focal length like a wide-angle lens.
Camera Settings for Depth of Field
As we’ve discussed, you will need to use your aperture, in part, to control depth of field. But manipulating your aperture also means manipulating other settings.
For example, if you set a small aperture, say f/16, you limit the amount of light that enters your lens. Without as much light, you run the risk of underexposing your image. In other words, your image will be dark.
To compensate for this, you could slow down your shutter speed, say from 1/200 seconds to 1/50 seconds, thus giving the lens longer to collect the available light.
However, if you’re a beginner, making all of these adjustments can be a bit overwhelming. Fortunately, many DSLRs and even point-and-shoot cameras have presets you can use to streamline the process.
You can read the entire original article over at Photography Talk
Source: Photography Talk
Infographic Source: Photography Talk

