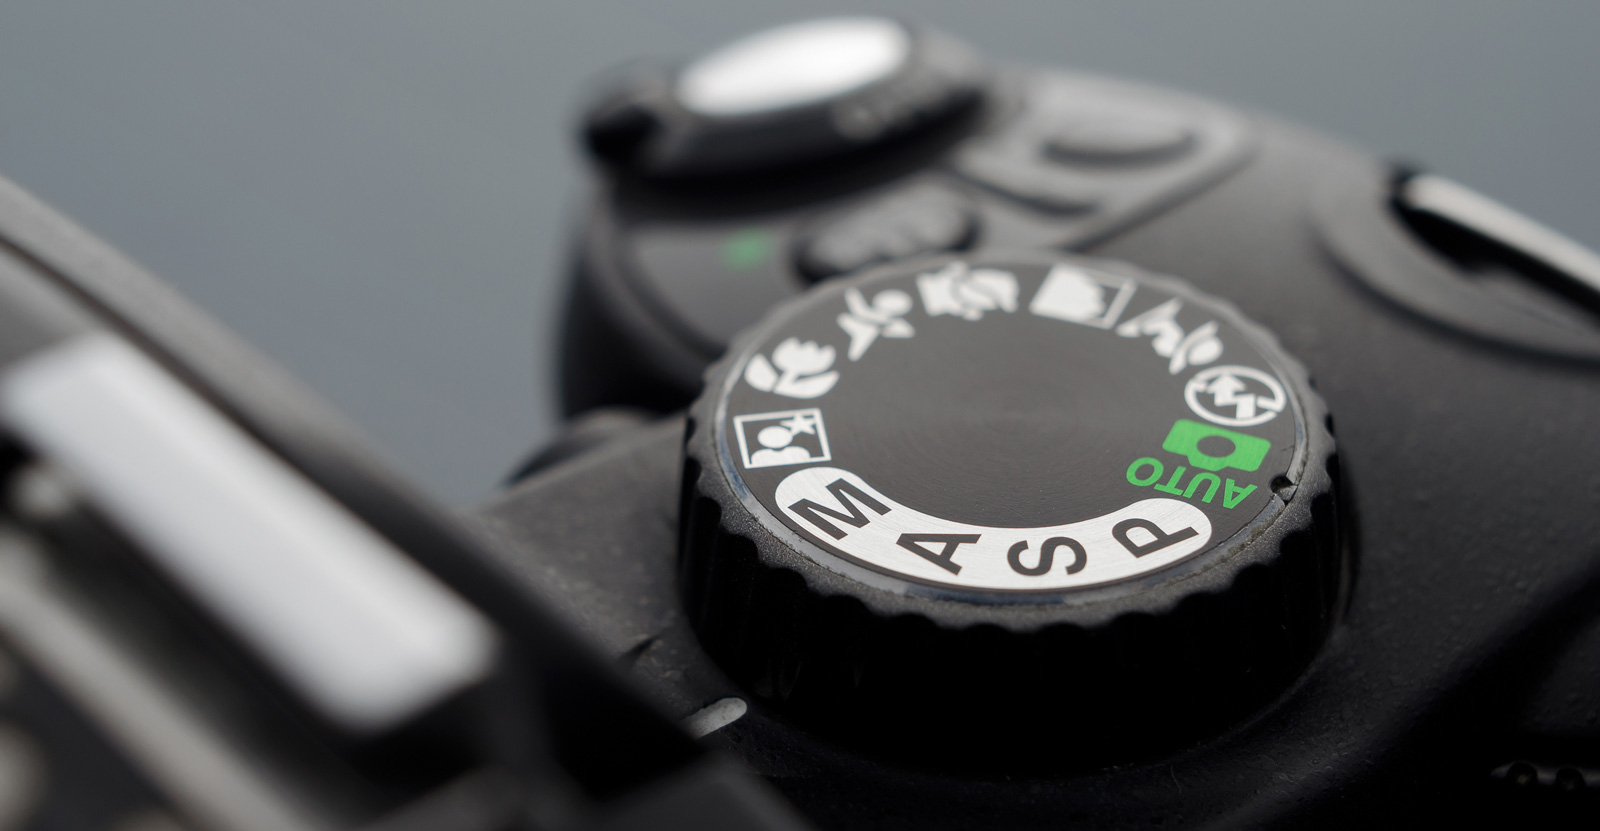
4 Steps To Learning How To Use The Top Dial Of Your Camera Without Getting Overwhelmed
We found a great article over at Photography Corner covering all the different options you can choose besides auto mode on the top dial of your camera
In addition to auto mode there are some creative modes as well. These are modes like portrait, sports or, landscape, etc…. By learning to use those modes you’ll definitely see an improvement over auto mode. However, you’re still going to be limited in what your final images look like because the cameras is still making the decisions for you.
You will really see a dramatic improvement in your photography when you begin to use the semi automatic and, manual modes of your camera. However, it can be very daunting to shoot in these modes because there are so many different options and settings. With help from our friends over a Digital Camera World we’ll try to simplify these choices for you.
1. Program
Here, aperture and shutter speed are set automatically. However, you control ISO, Exposure Compensation (ie, going lighter or darker) and other settings.
Editor’s Note: you’ll probably want to forego this setting for some of the others below. This is a very limited shooting mode and I feel like you would be better served to start out in either aperture priority or shutter priority.
2. Aperture Priority
This semi-automatic mode enables you to choose an aperture value for your desired effect (blurred backgrounds, for example), and the camera then selects the shutter speed that’s needed for a correct exposure.
Editor’s Note: in this mode you can also set both your white balance and your ISO to auto mode. Although you will be better off when you learn how to eventually control those. I personally shoot in aperture priority mode frequently. You may hear a lot of photographers on the internet raving about manual mode and not using this. However, I don’t mind allowing the camera to work for me as long as I achieve the desired result.
3. Shutter Priority
This mode is similar to Aperture Priority, but you select the shutter speed you require and the camera takes care of the aperture. This is perfect for freezing action or blurring motion.
Editor’s Note: I do find myself using this mode when trying to take pictures of my two-year-old son. The ages of 2 to 3 are notoriously the most difficult ages to try and photograph children. He’s always in motion so I need a fast shutter speed. In this mode once again you can set both your white balance and your ISO to auto mode. Although like Aperture Priority above you will be better off when you learn how to eventually control those.
4. Manual
In Manual mode, you set both the shutter speed and the aperture for any given scene, which places you in total creative control. You’ll now have access to all of the available shutter speeds and aperture values, and can also use Bulb mode.
Editor’s Note: In this mode just like both Aperture Priority and, Shutter Priority you can set both your white balance and your ISO to auto mode. Although at the sake of repeating myself for a third time you will be better off when you learn how to eventually control those.
Bulb mode is something you probably learn when you want to take long exposure landscapes for example. I also use bulb mode whenever photographing stars or light painting which is really outside the scope of this article.
In conclusion it really comes down to learning your exposure triangle. Which is aperture, shutter speed, and ISO. We have a really great article with BOTH A CHEAT SHEET AND VIDEO which you can find on the link below.
How To Understand ISO, Aperture And, Shutter Speed WITH Bonus Cheat Sheet
Source: Photography Corner

